
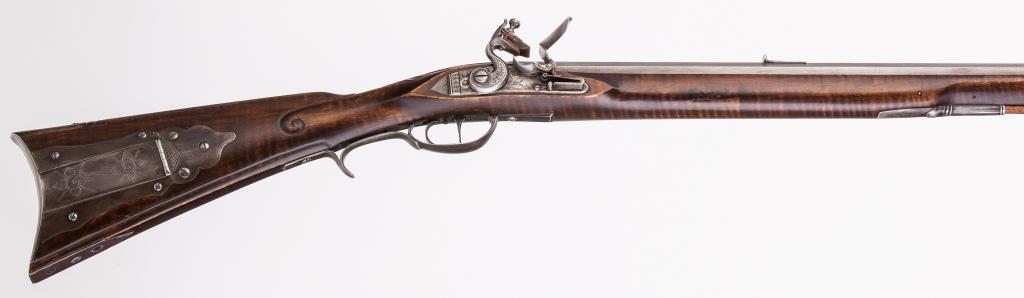
An Unusual Iron Mounted Rifle
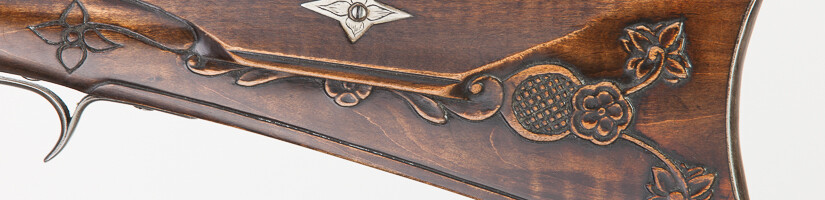
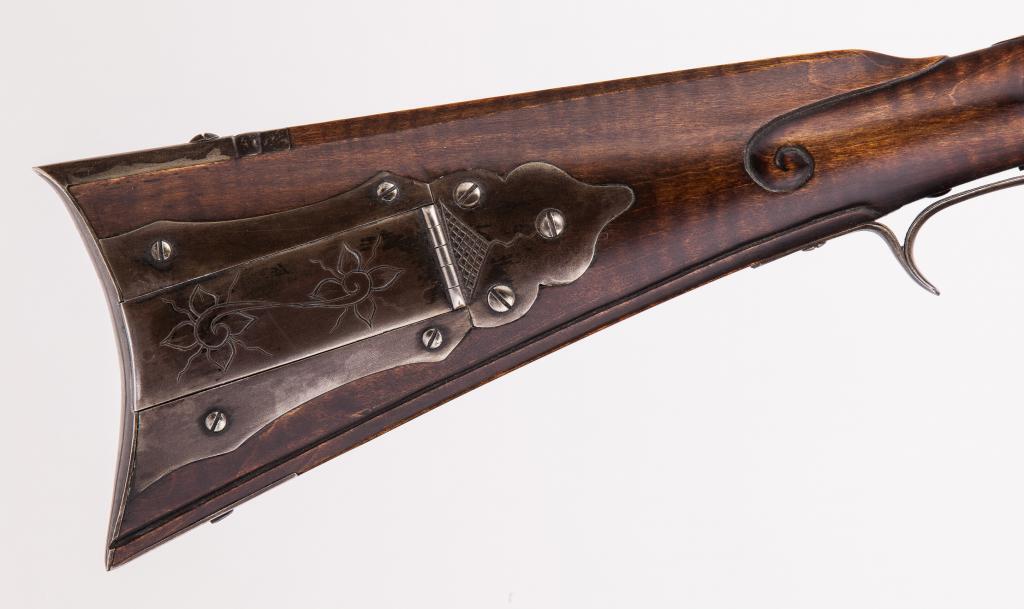
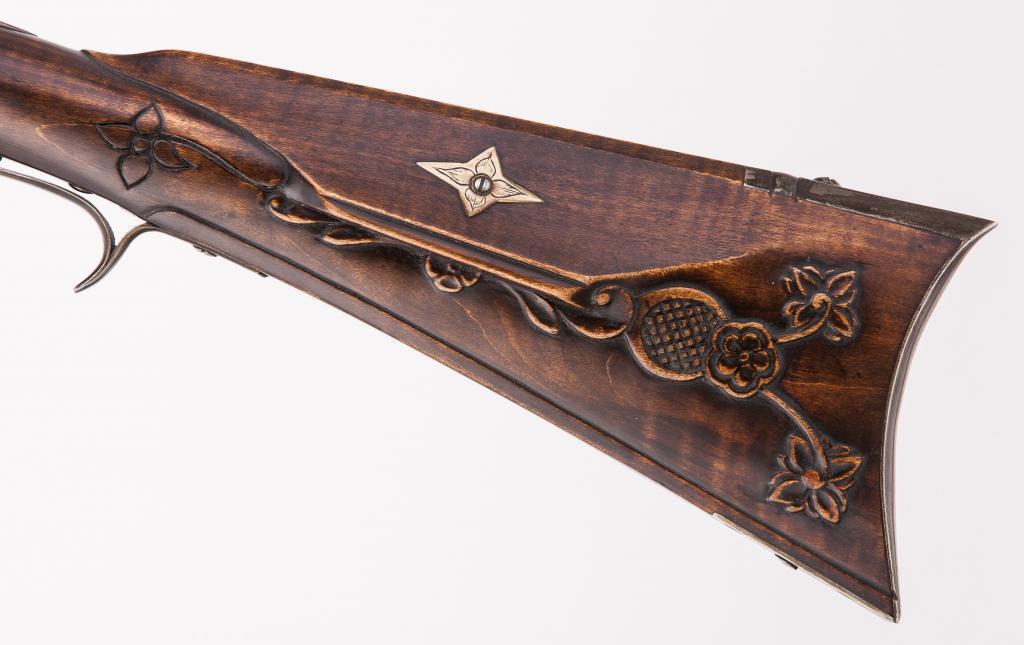
The longrifle shown here is an iron mounted chunk gun with stylistic elements found on guns from the Augusta/Rockbridge area of Virginia down into southwest Virginia. This rifle includes a four-piece iron patchbox and a faceted trigger guard and thimbles similar to a couple of rifles from Wallace Gusler’s step-toe group as documented in several Muzzle Blasts articles. Those antique rifles had mounts that were a little fancier than most iron mounted guns but they certainly didn’t have carving and engraving as does this longrifle. The carving on this rifle is based on a John Davidson rifle (shown elsewhere on this site) from Rockbridge County, Virginia. As it stands, this is most definitely a fantasy gun both in terms of its decoration as a chunk gun, and the mix of features from various rifles. In my defense, I was making this gun for myself. So, I made what suited me. Hopefully, you will also find it appealing.
The Technical Details
| Stock: | Fairly curly, slab cut, red maple |
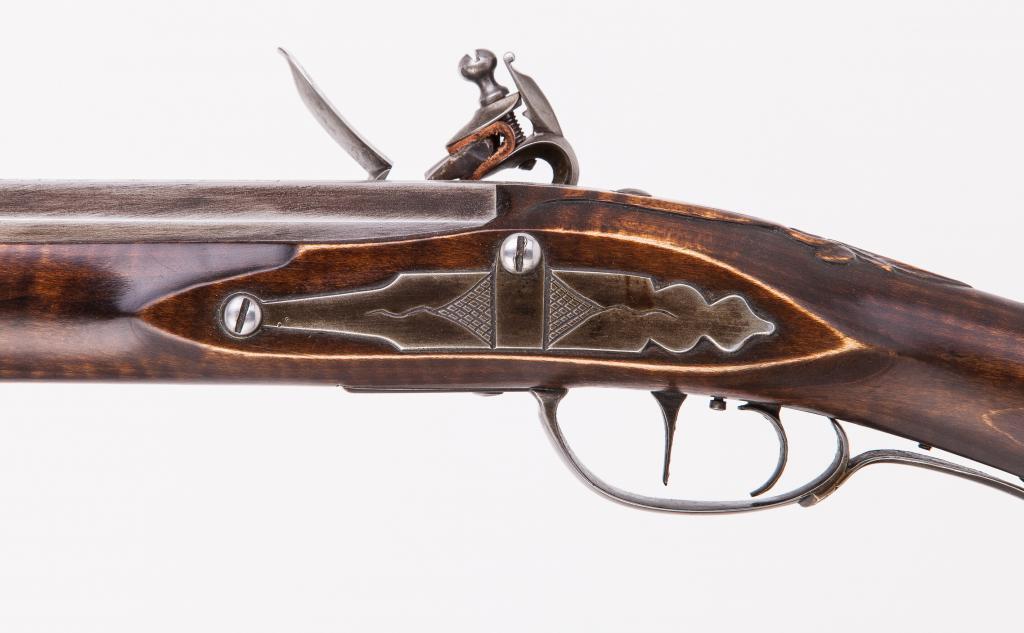
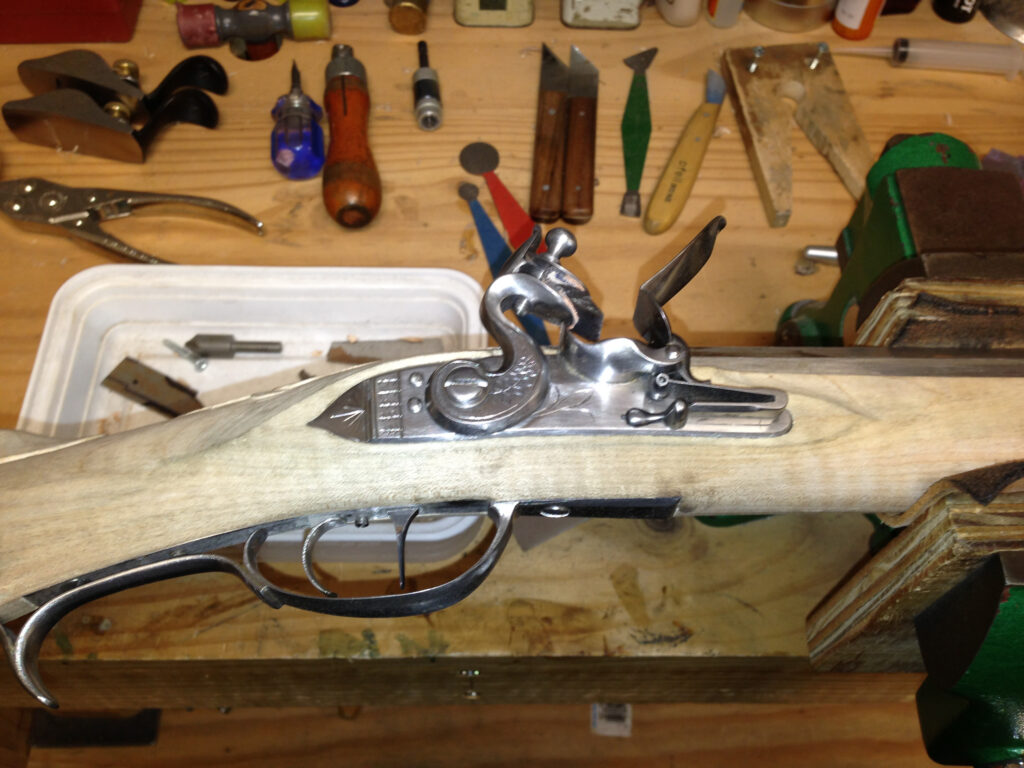
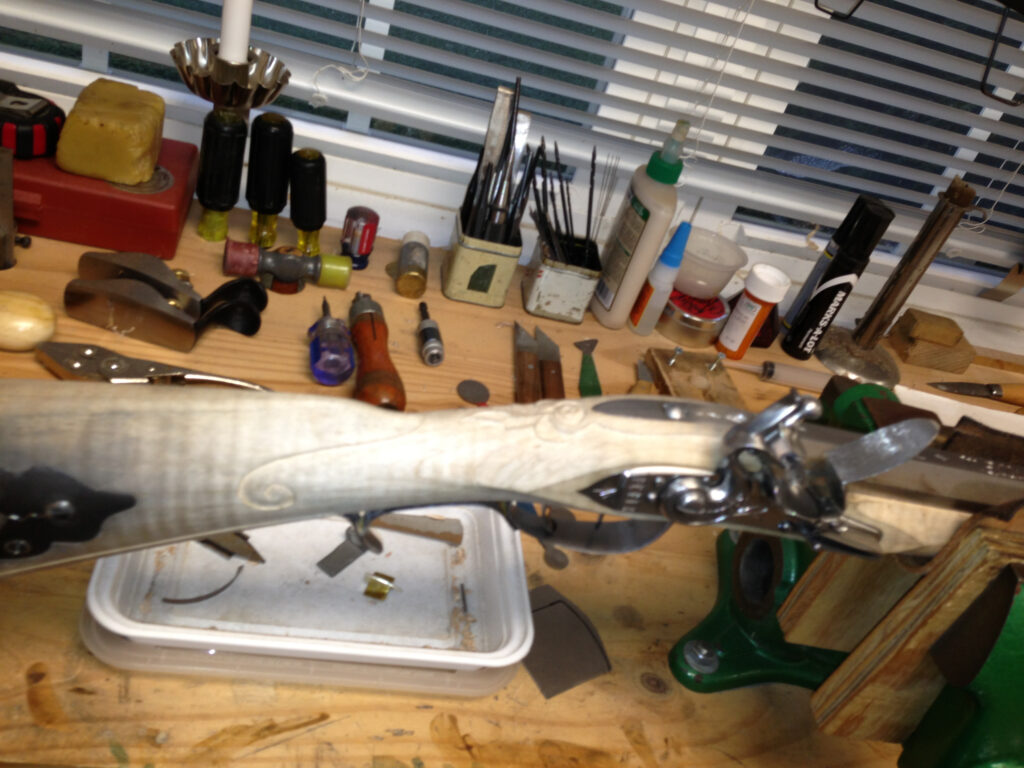
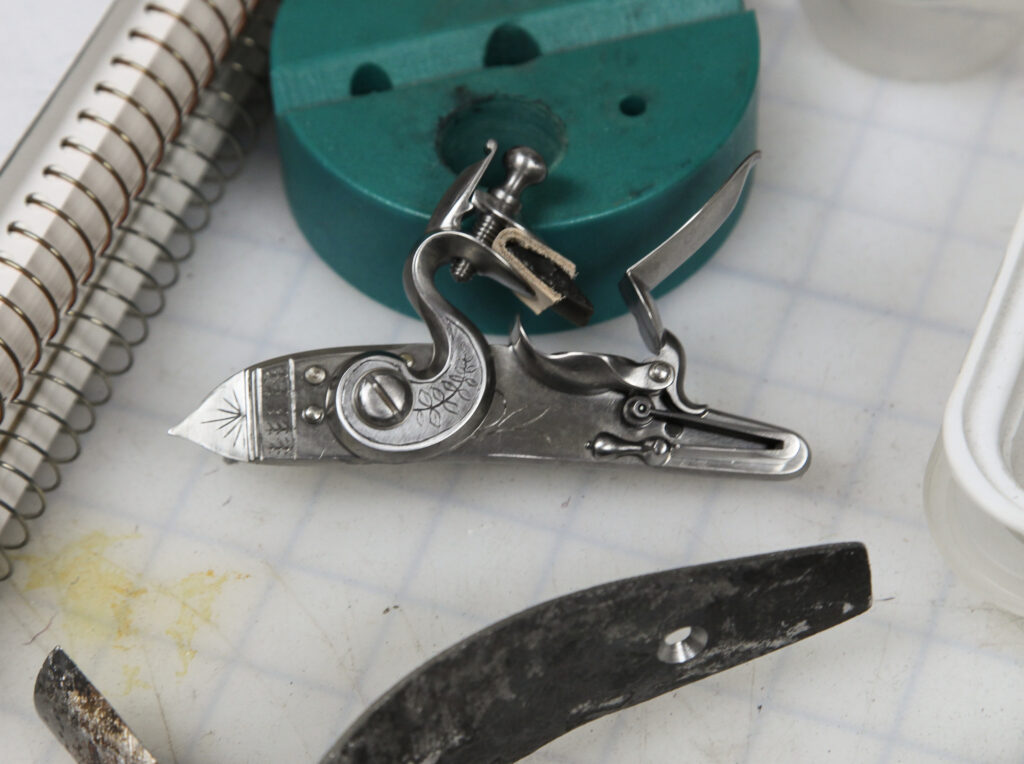
| Lock: | Chambers Late Ketland lock |
| Barrel: | 46″, 45 caliber, 1 1/8″ straight custom barrel by Getz |
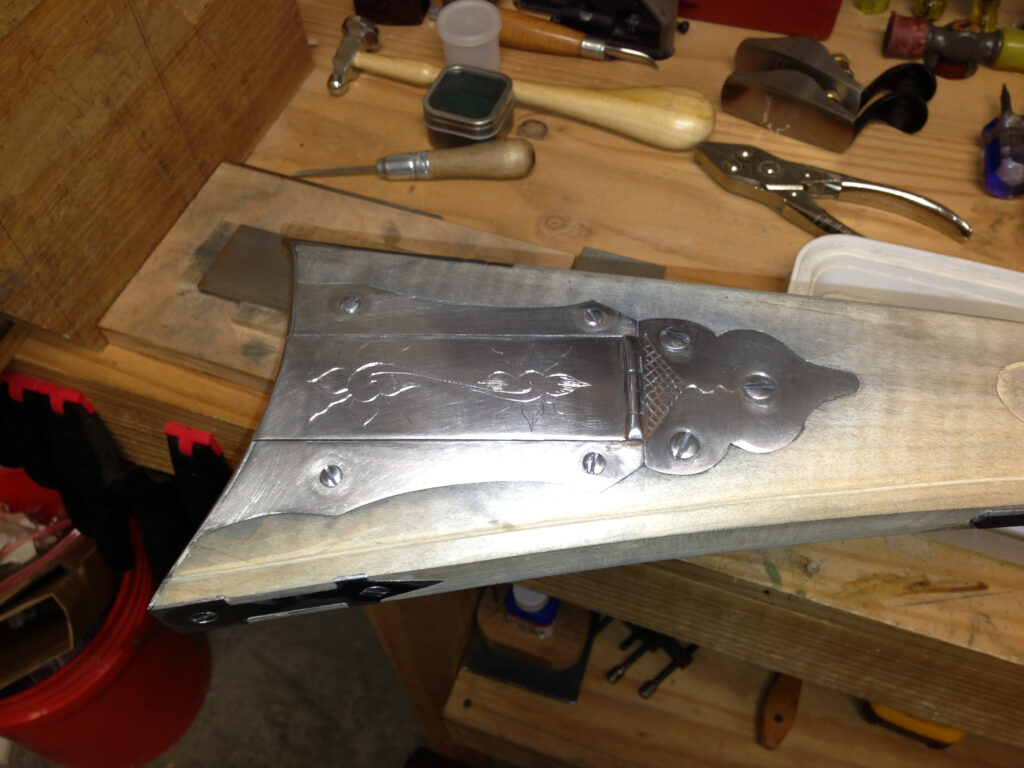
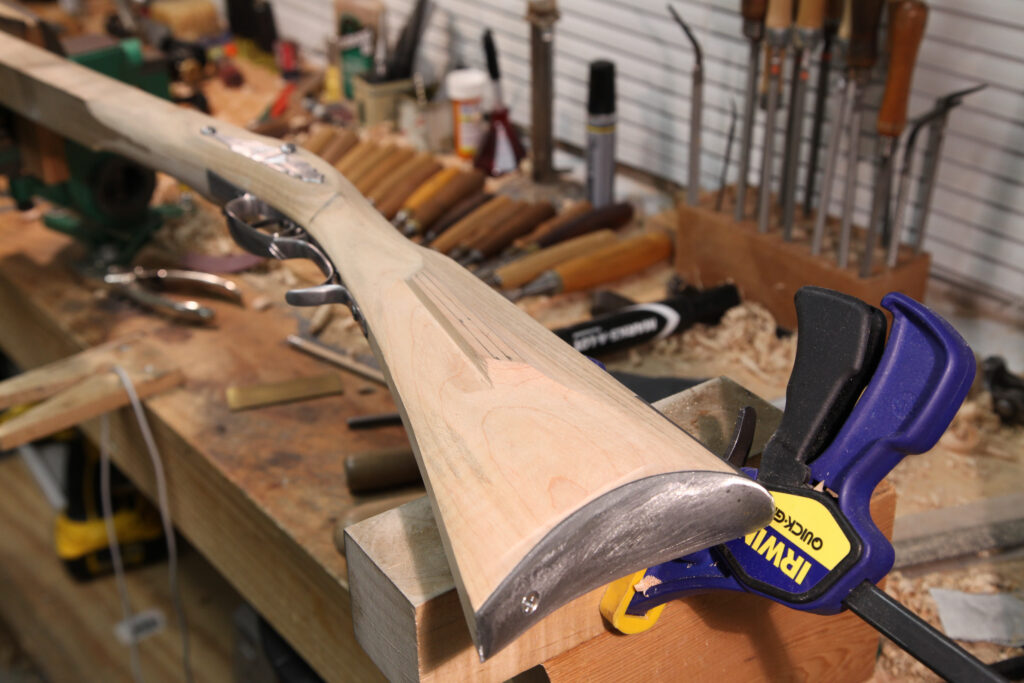
| Mounts: | All iron with hand forged butt piece, guard, and ramrod ferrule |
| Trigger: | Davis longrifle double set triggers modified to fit the guard |
| Pull / Drop / Cast-off: | 13.25″ / 2.75″ / 0.25″ |
| Weight: | 14 lbs 15 oz |
Building a Fantasy Longrifle
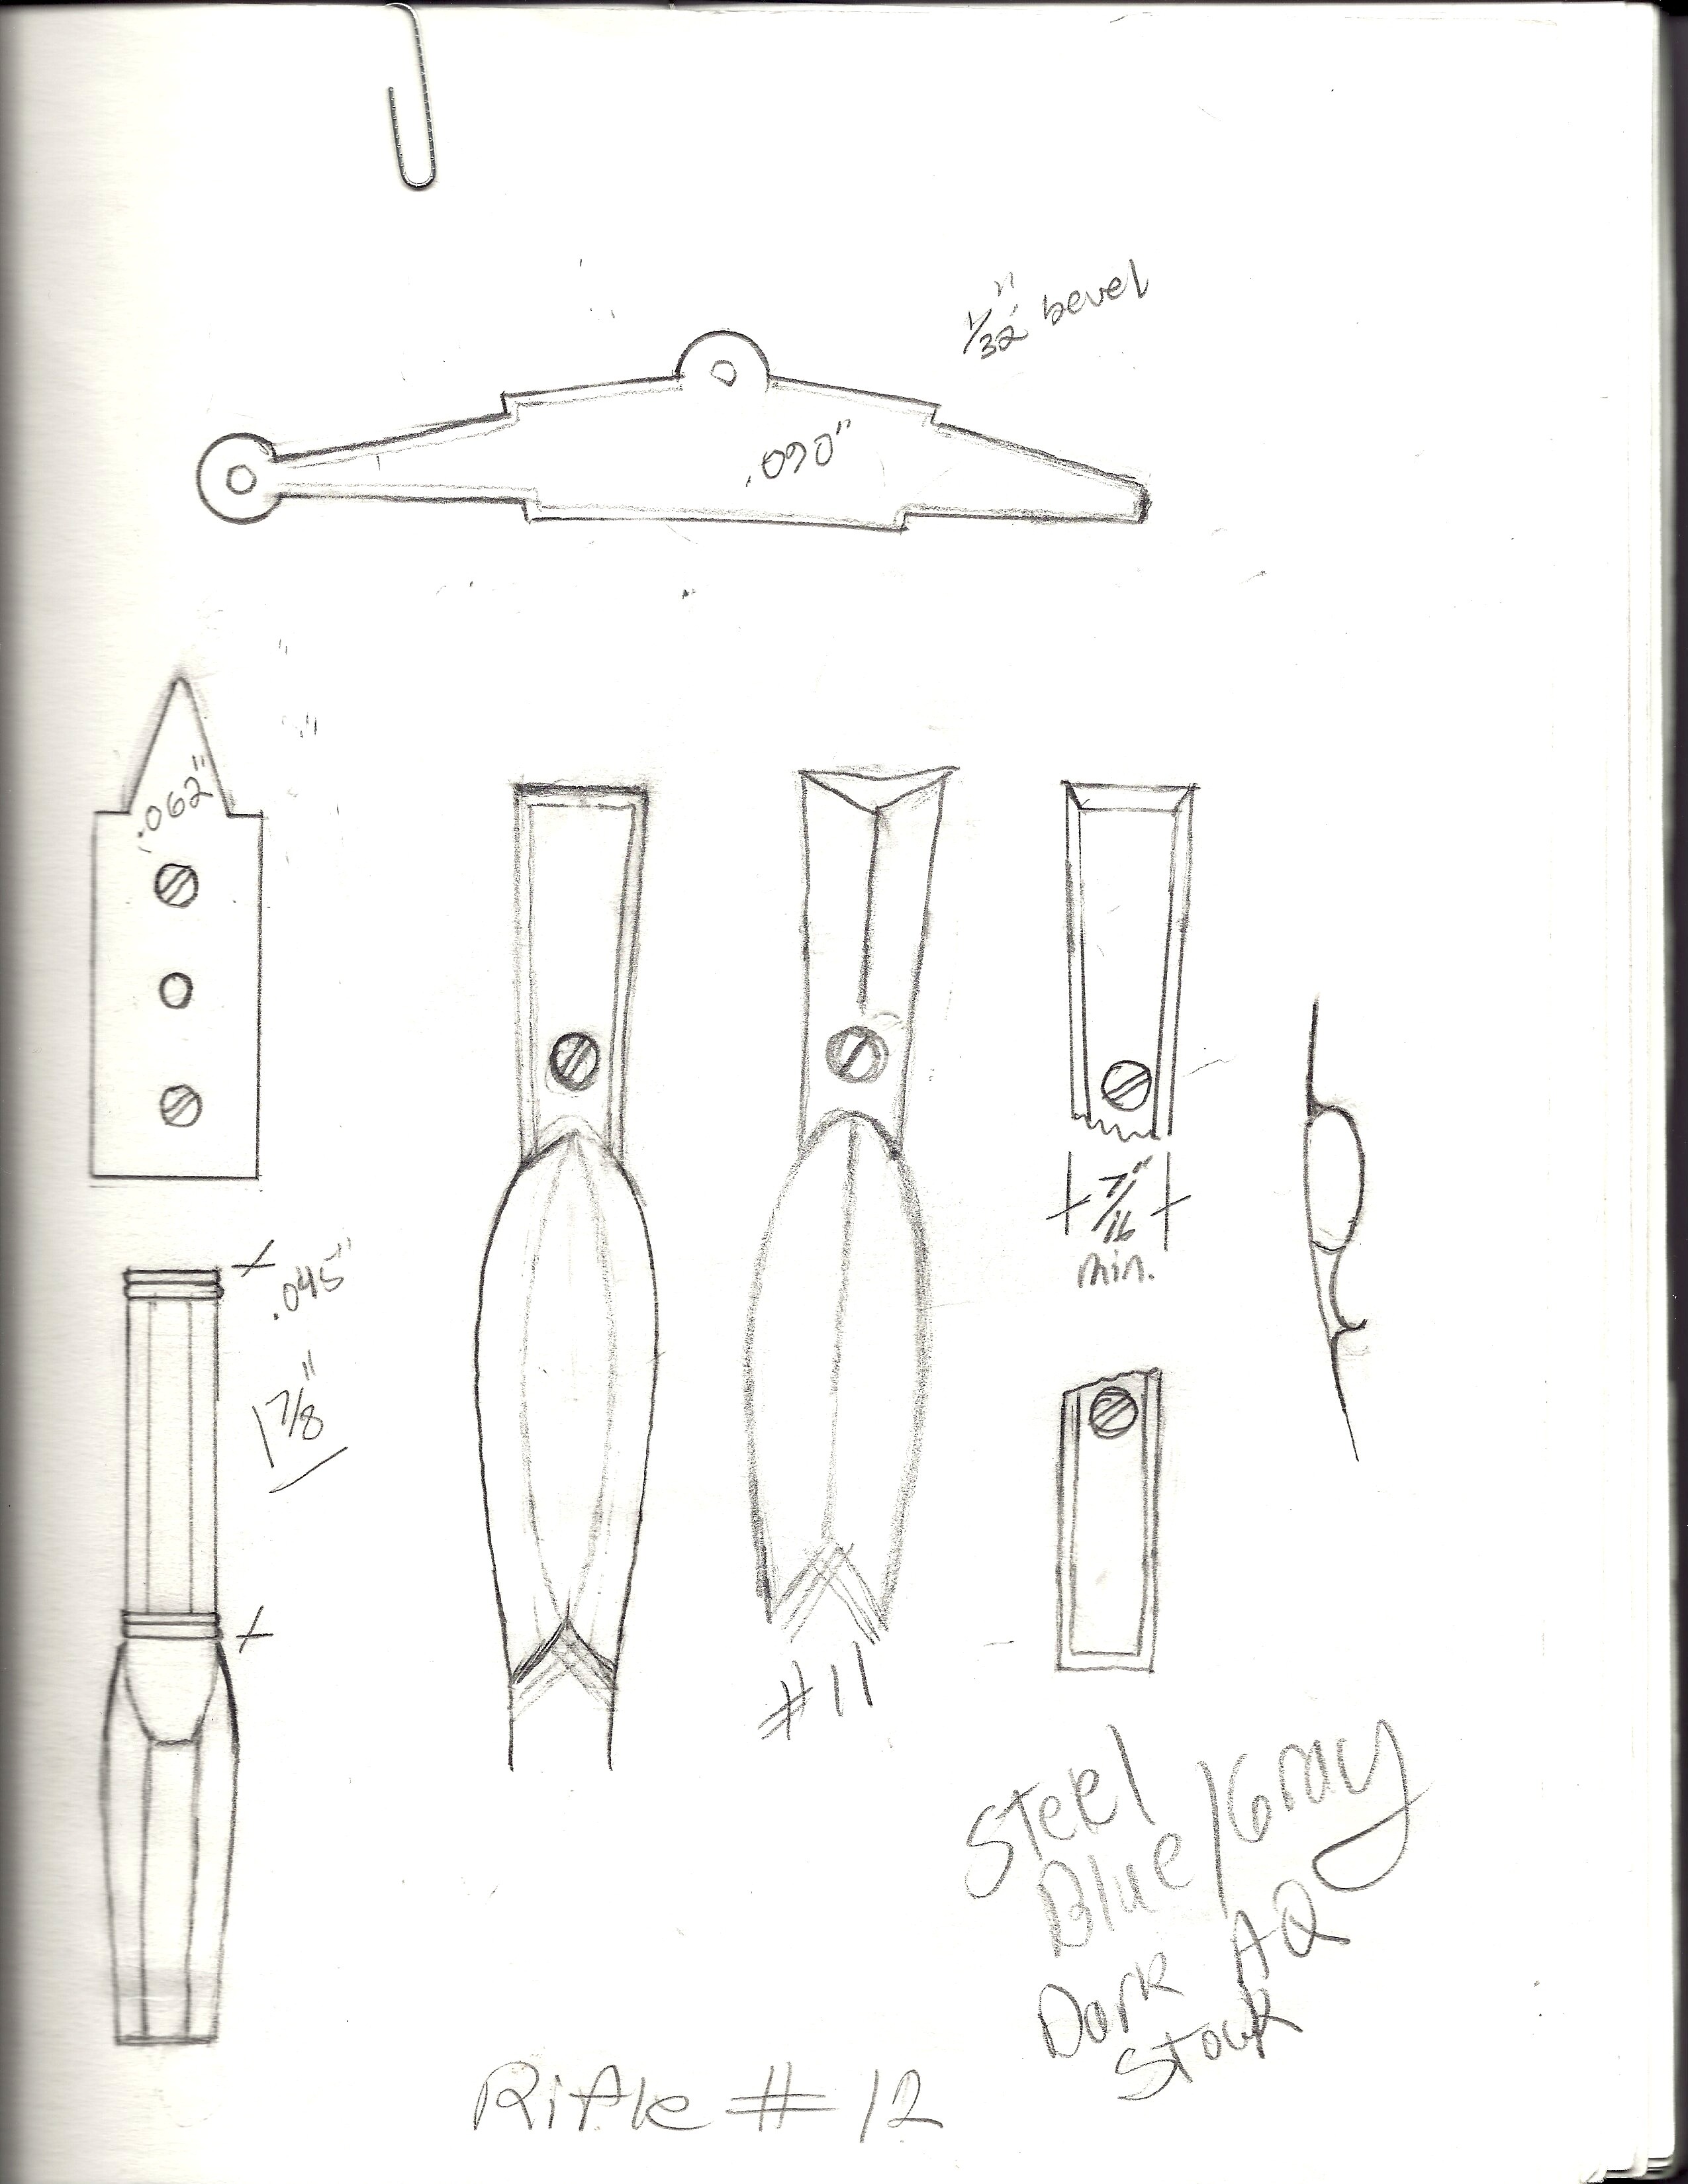
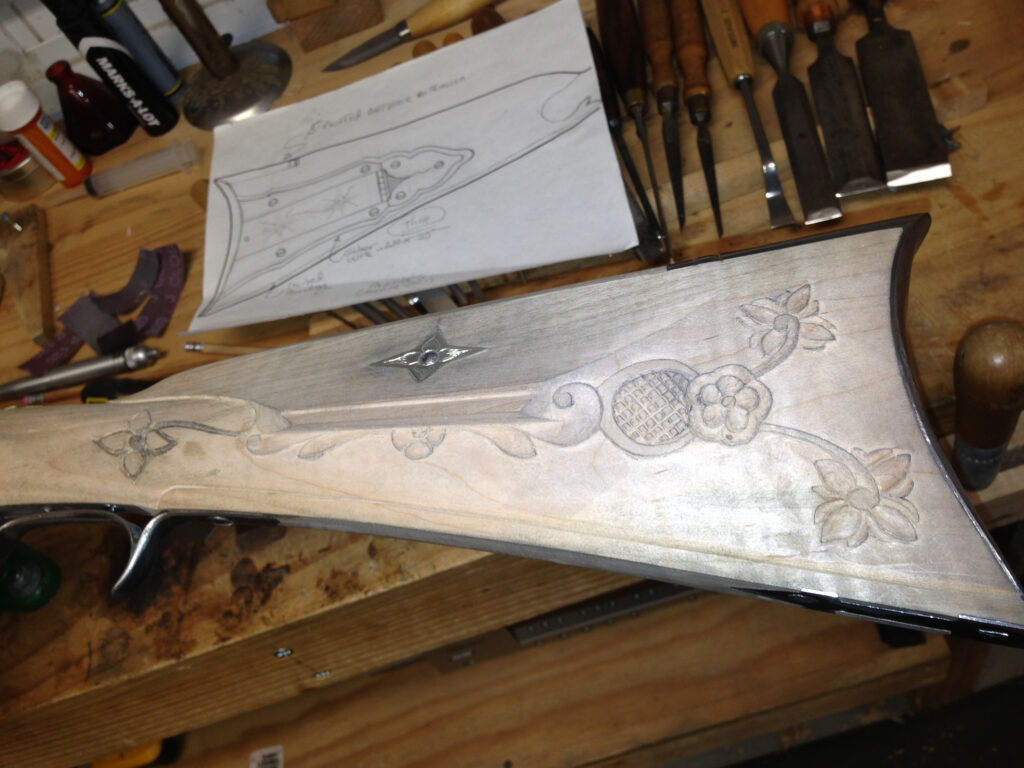
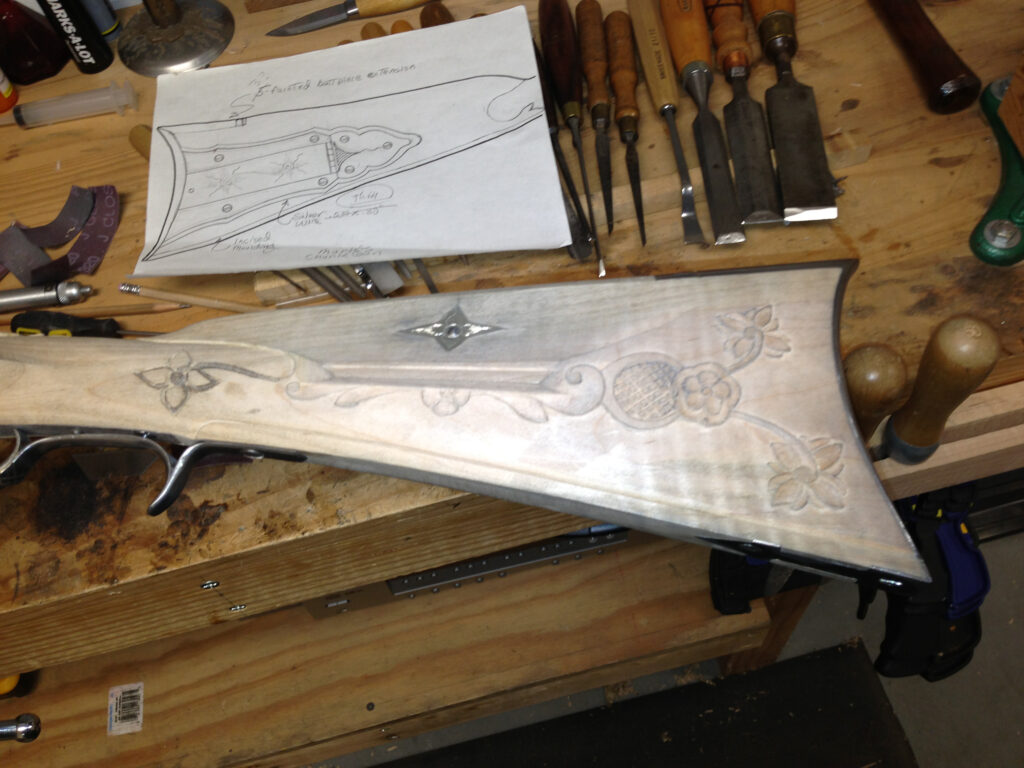
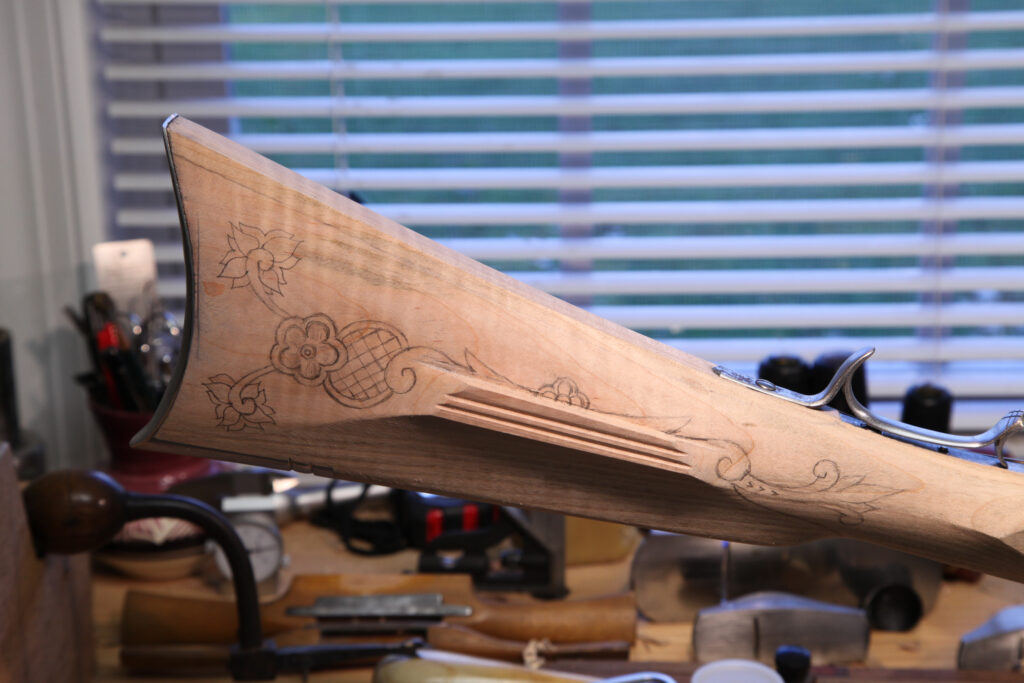
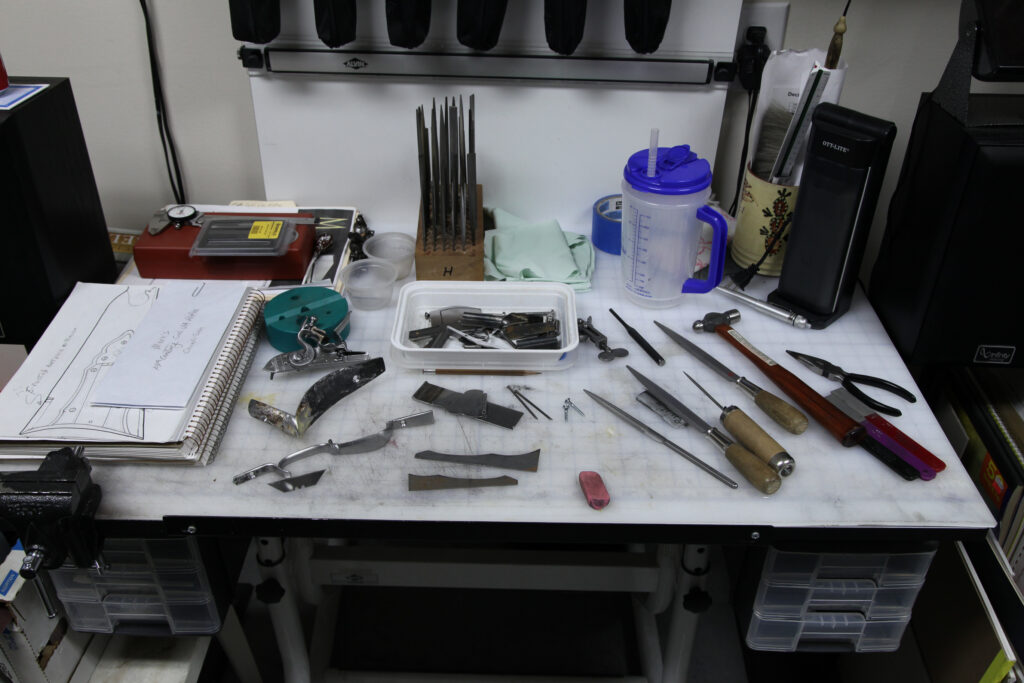
Below are initial sketches that I did for this project. I do these sort of sketches for every project, but as you will see, the actual gun can turn out quite differently. I often change my mind about the details as I am working on the gun.

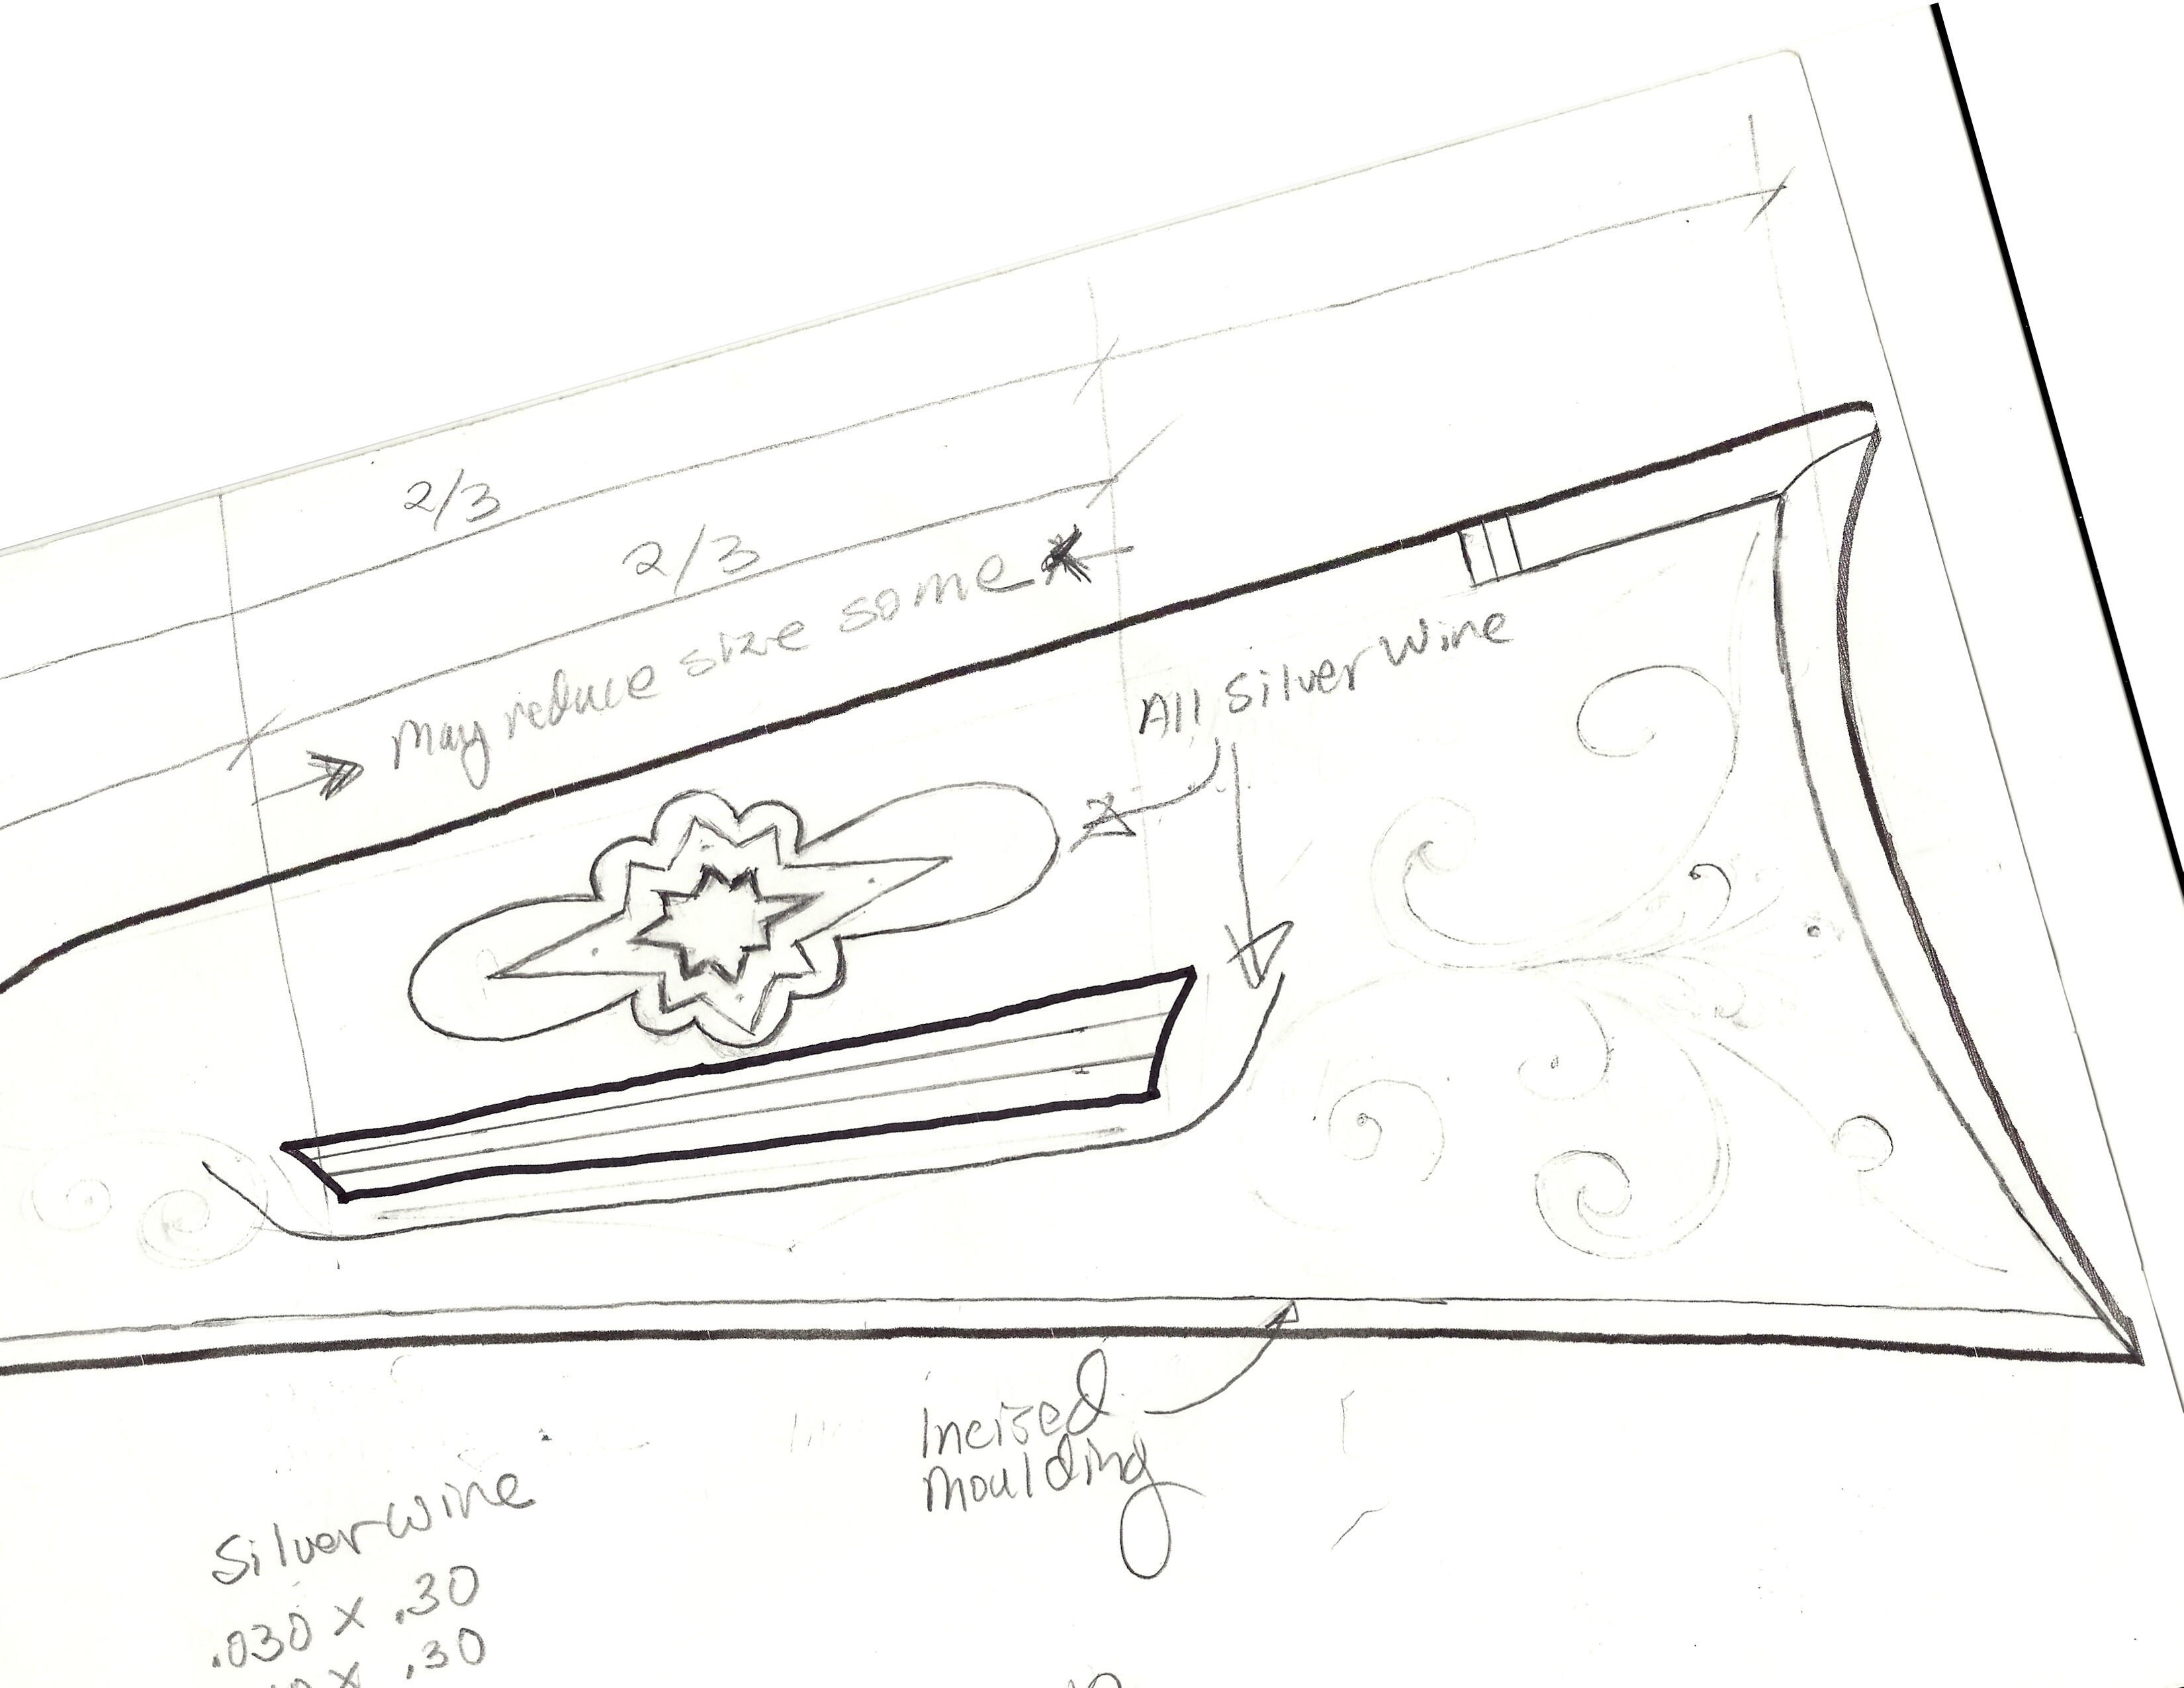
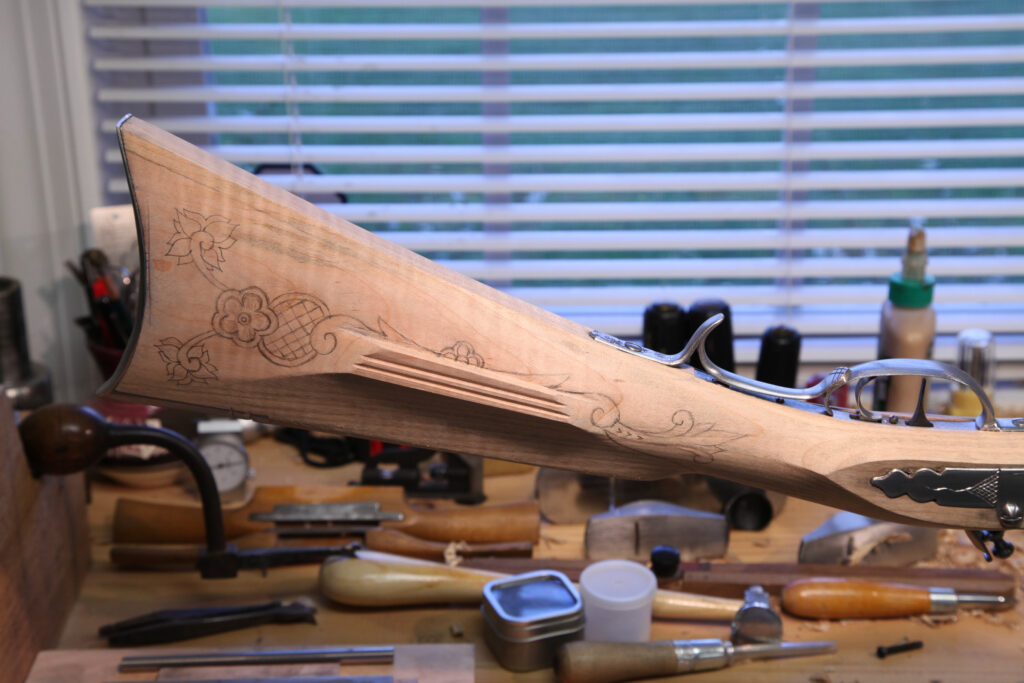
I wasn’t happy with how similar silver wire worked on Rifle #11. So, I decided to skip the silver wire on this gun and did some carving based on the John Davidson rifle documented in the Antiques section of this site.
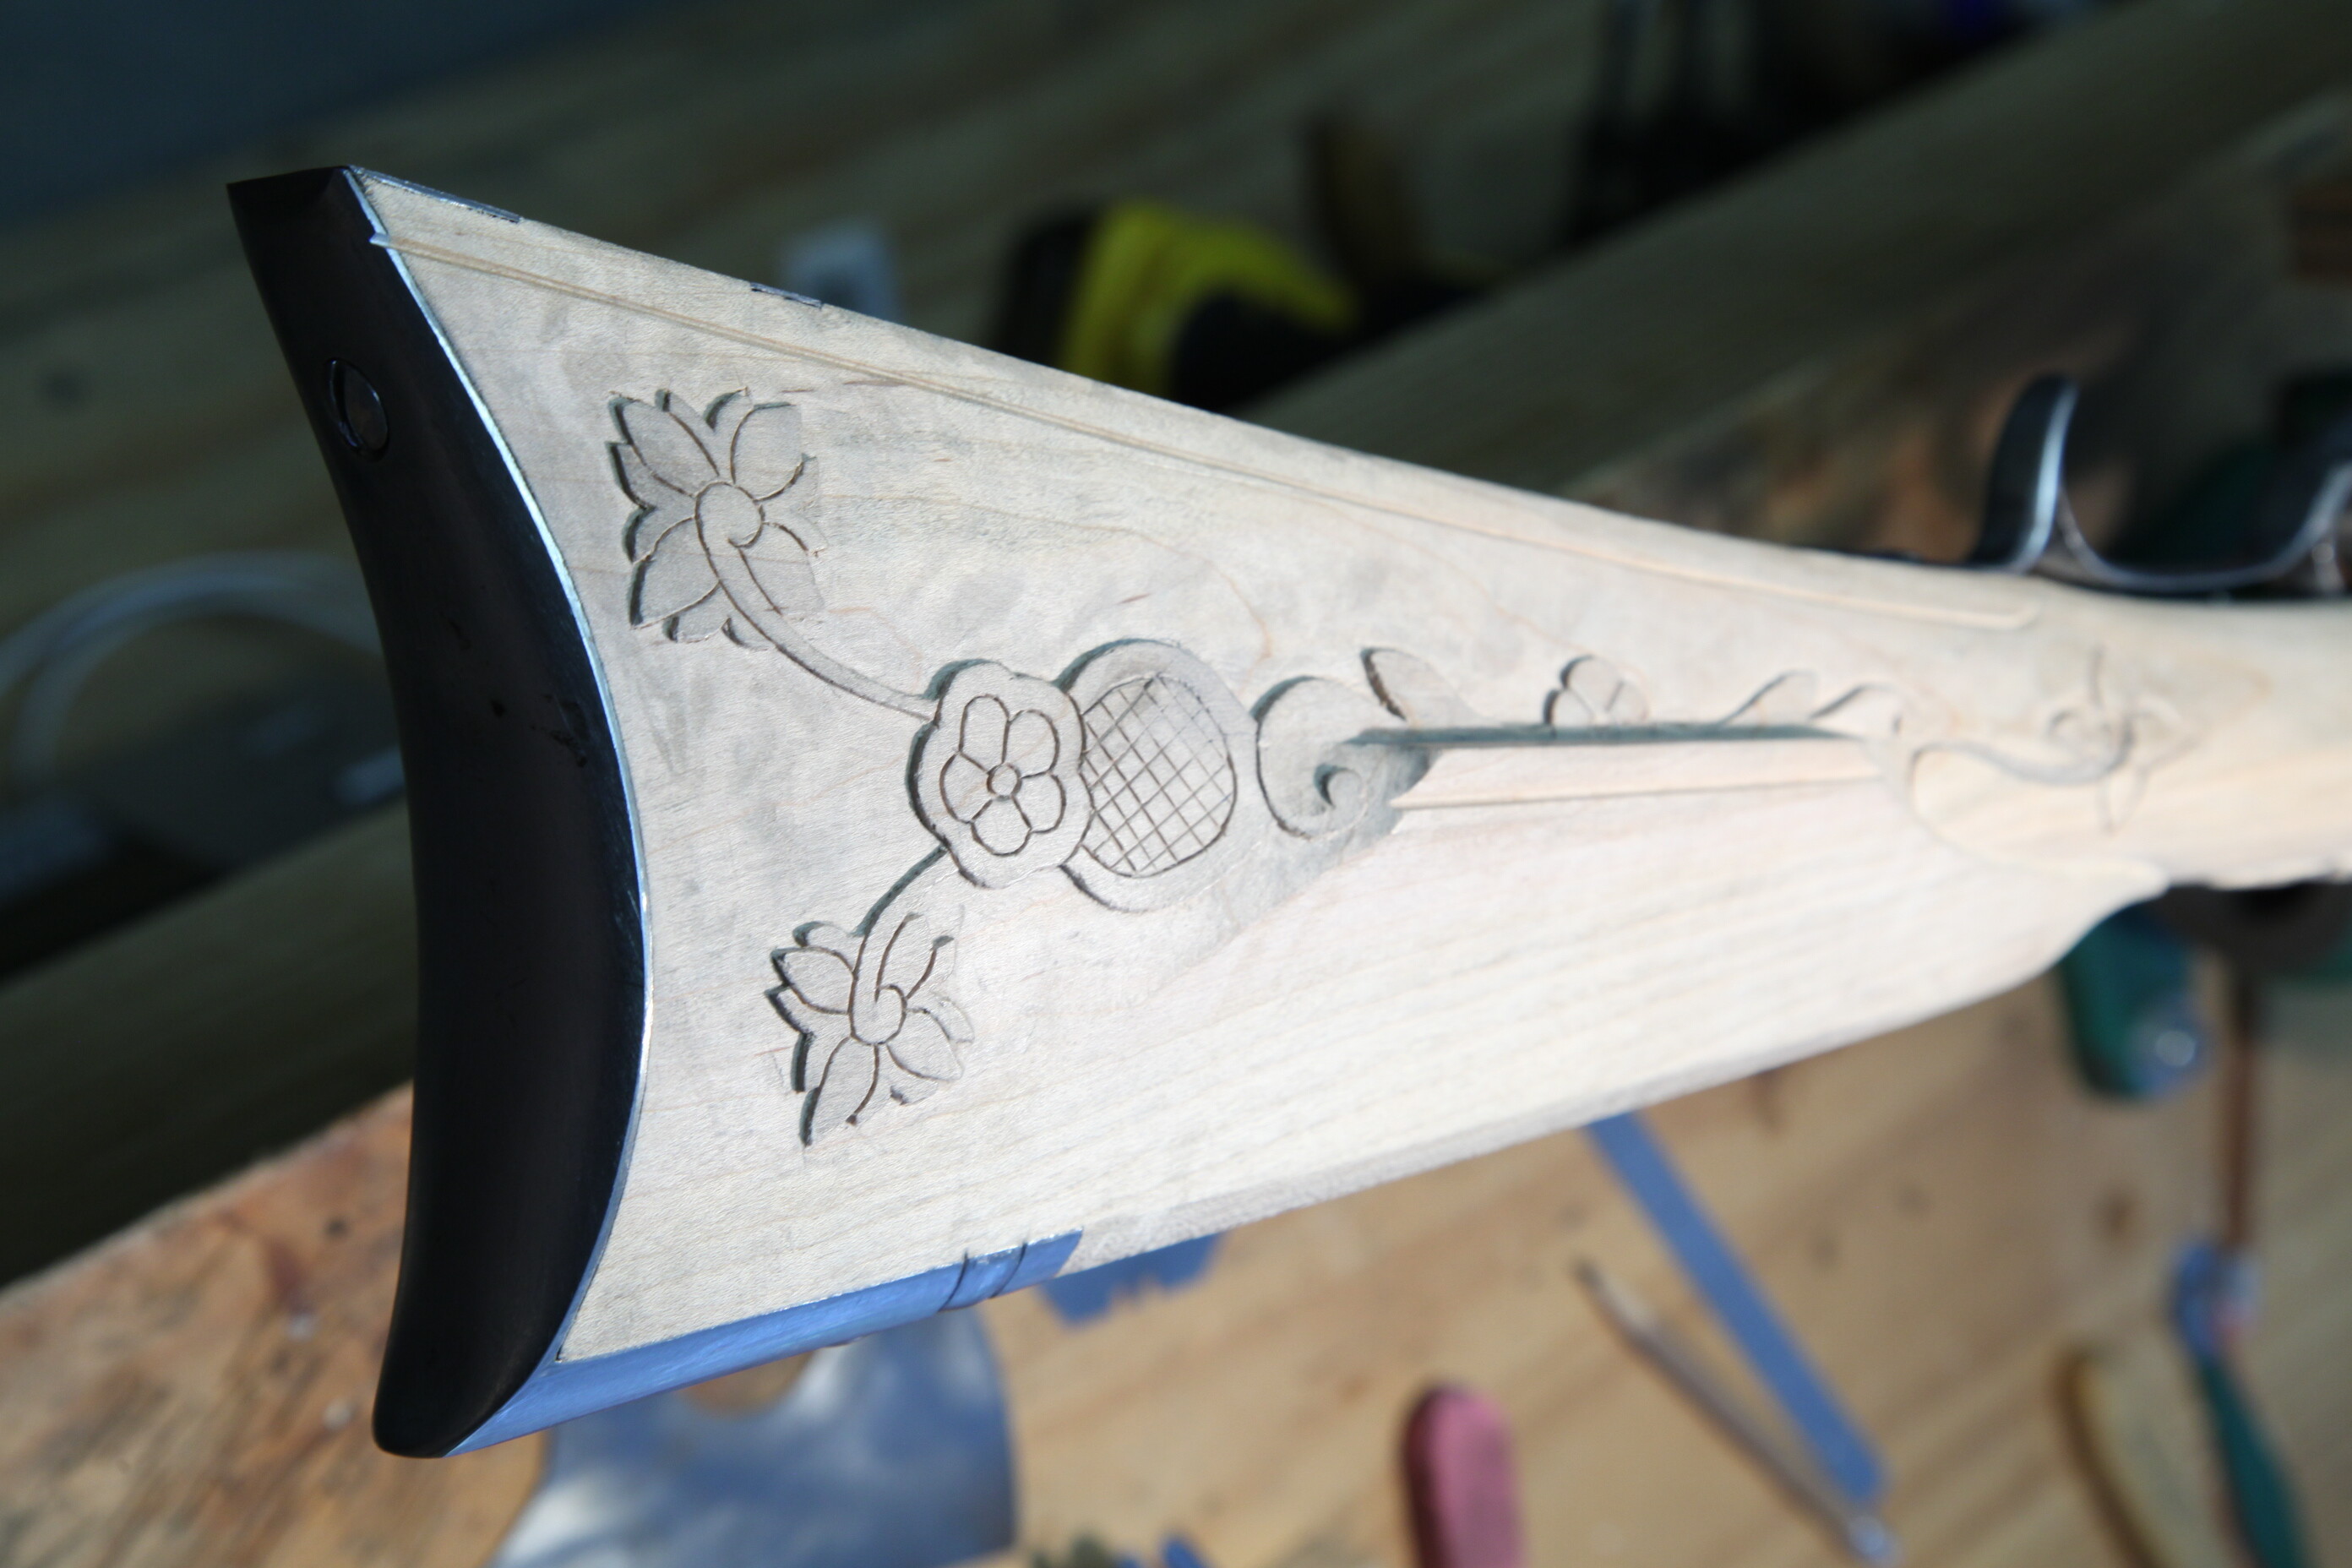
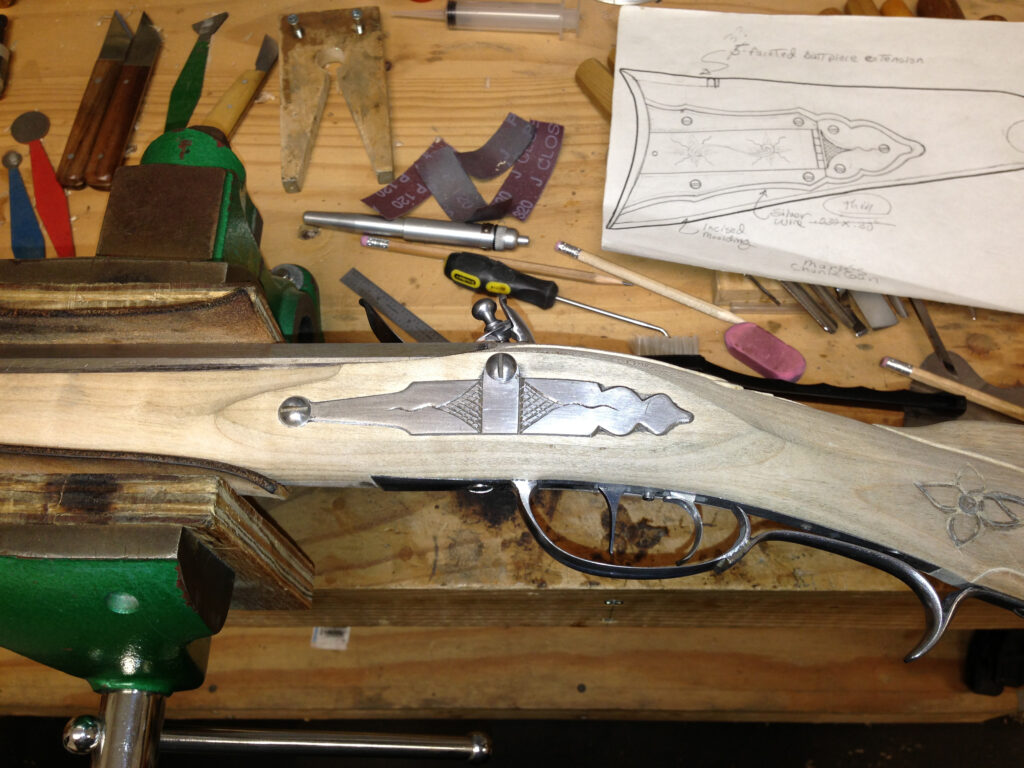
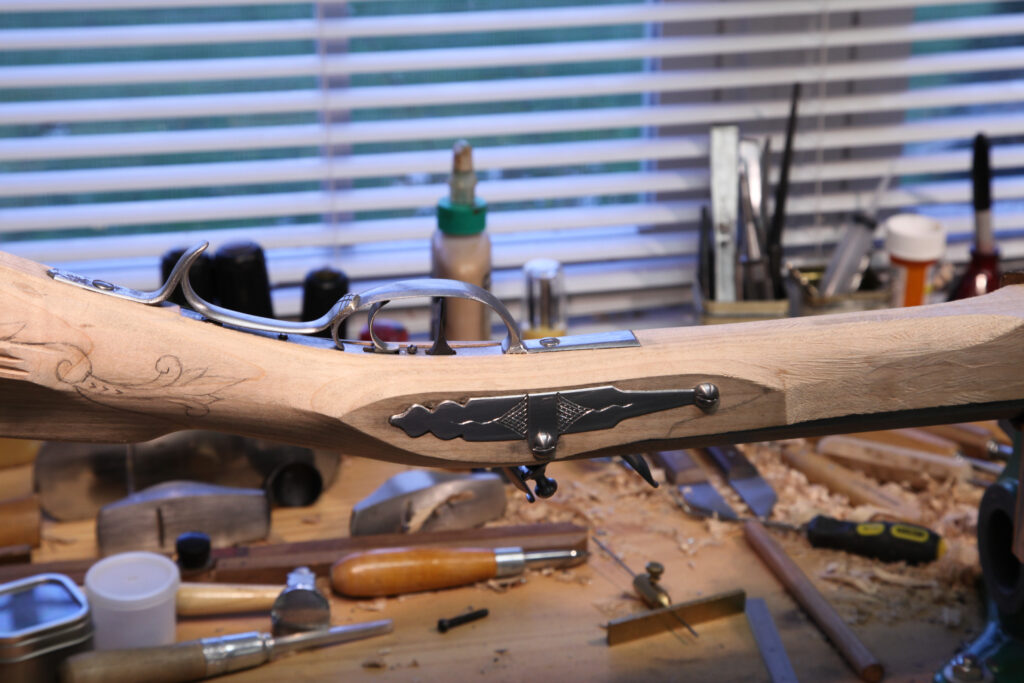
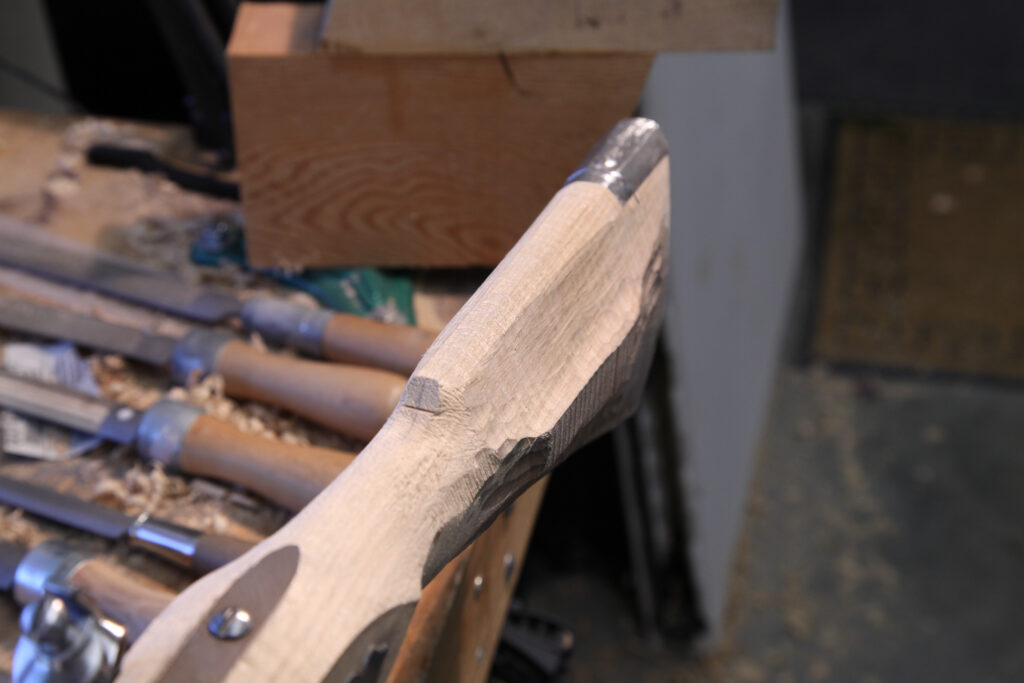
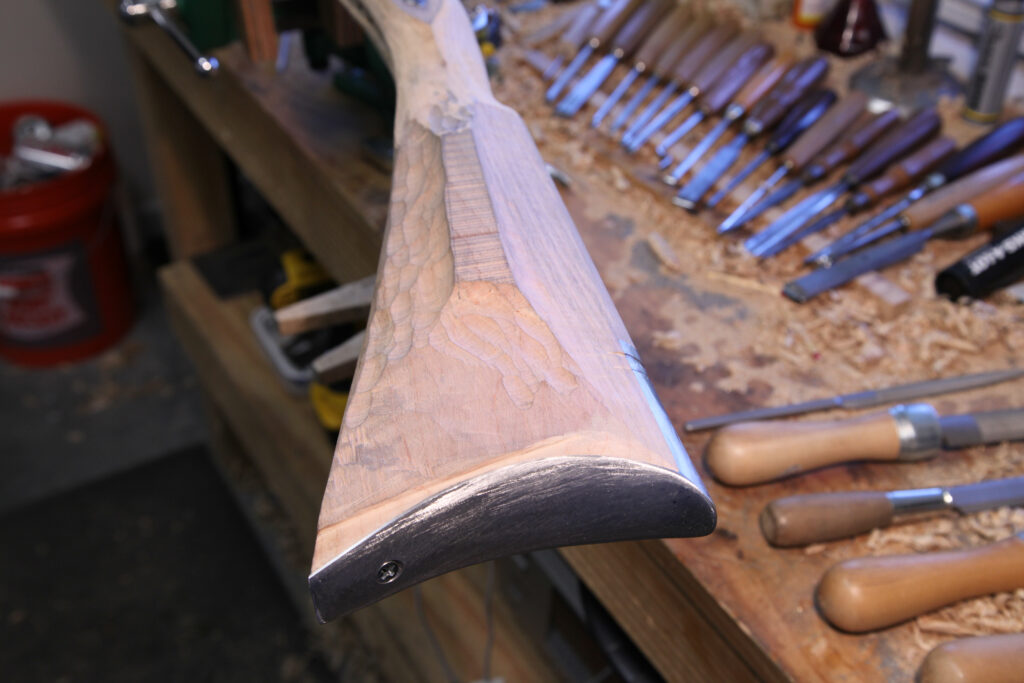
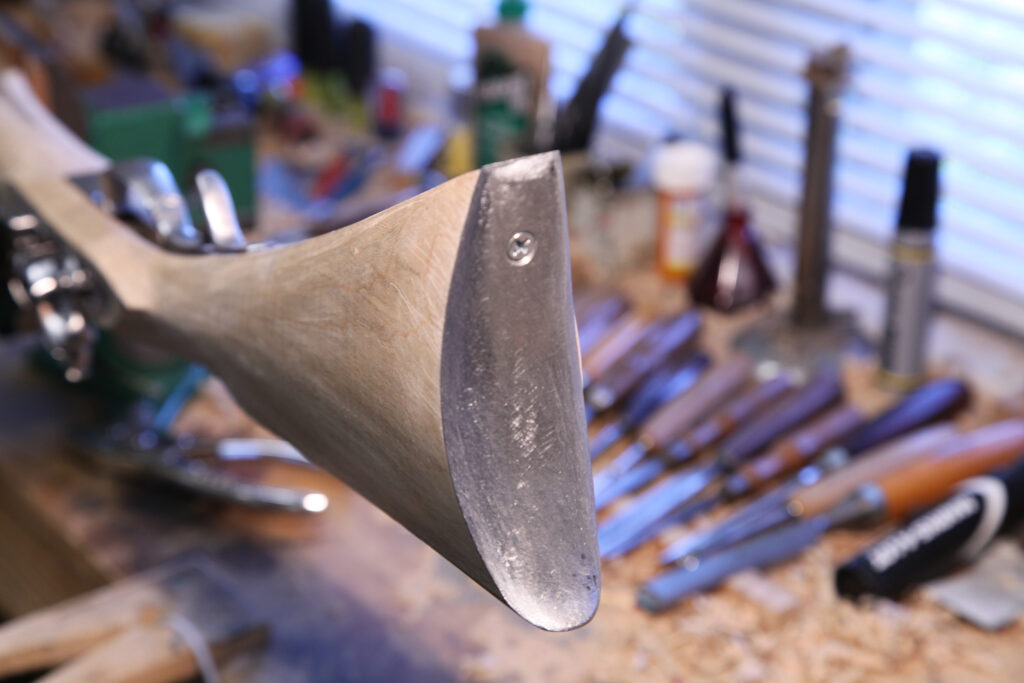
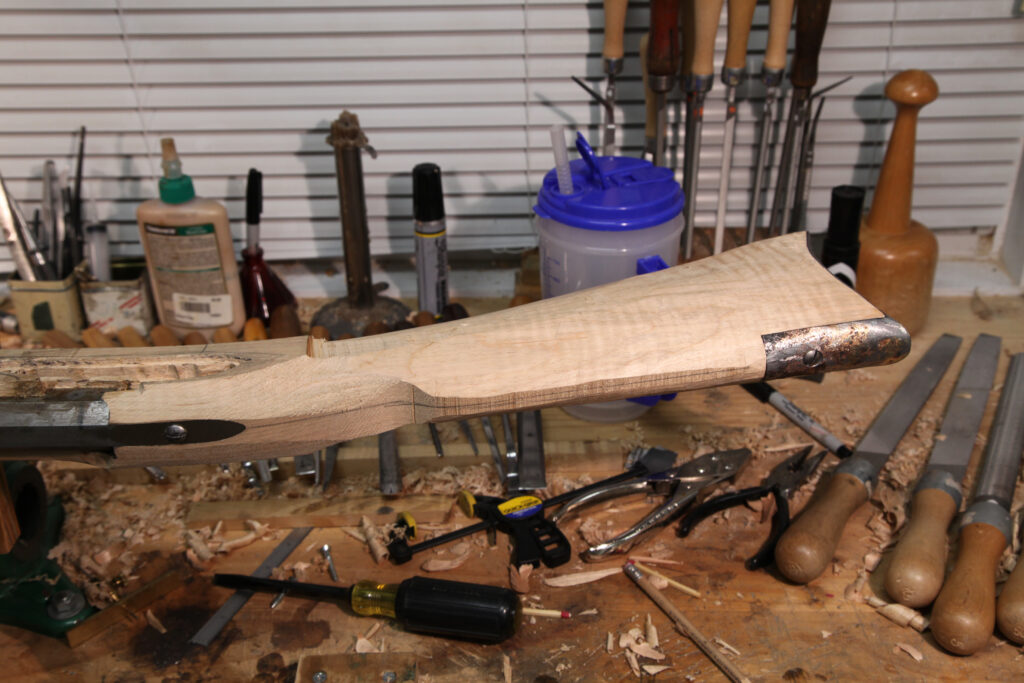
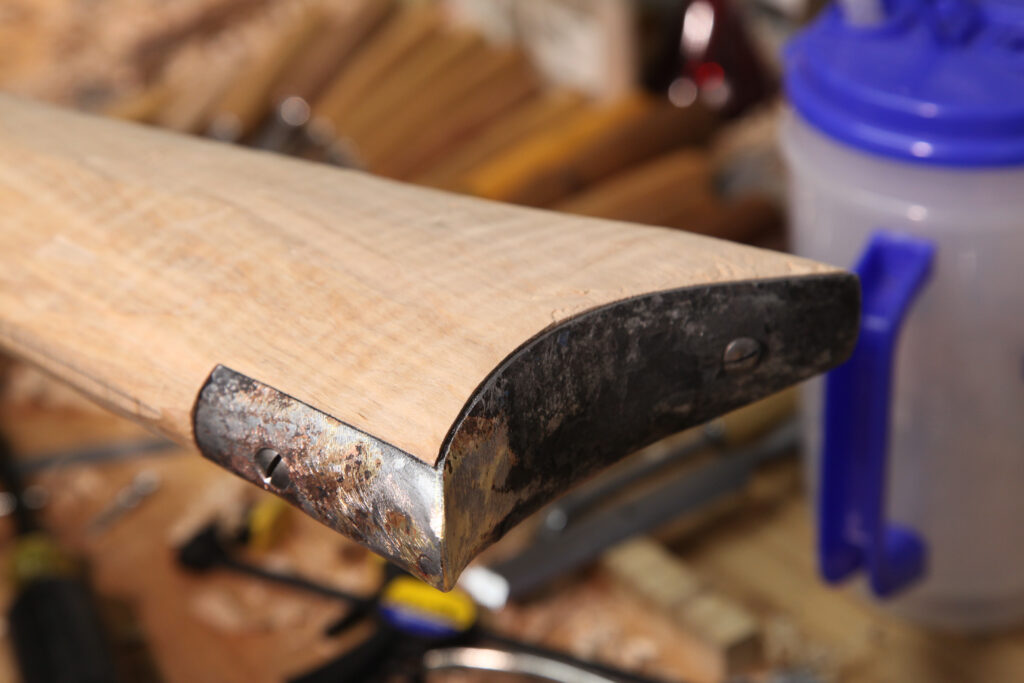
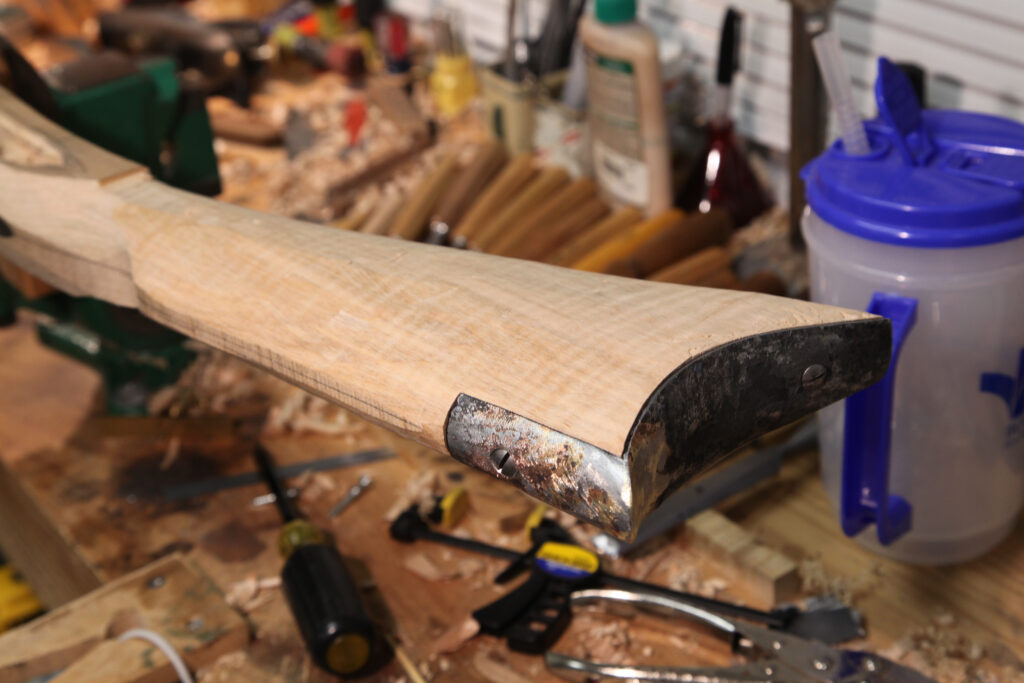
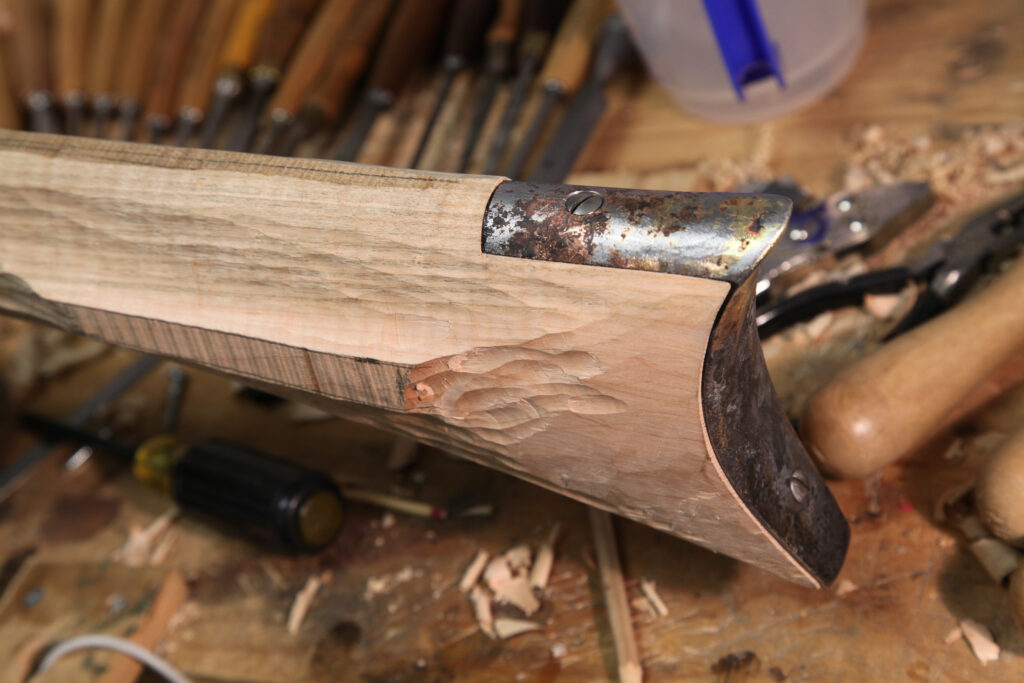
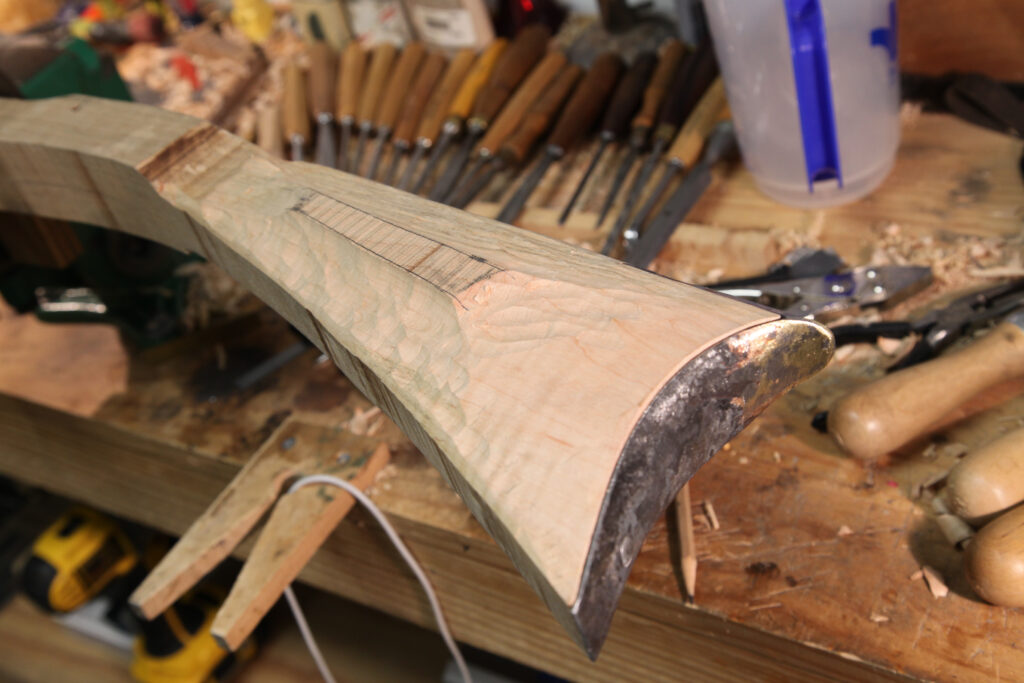
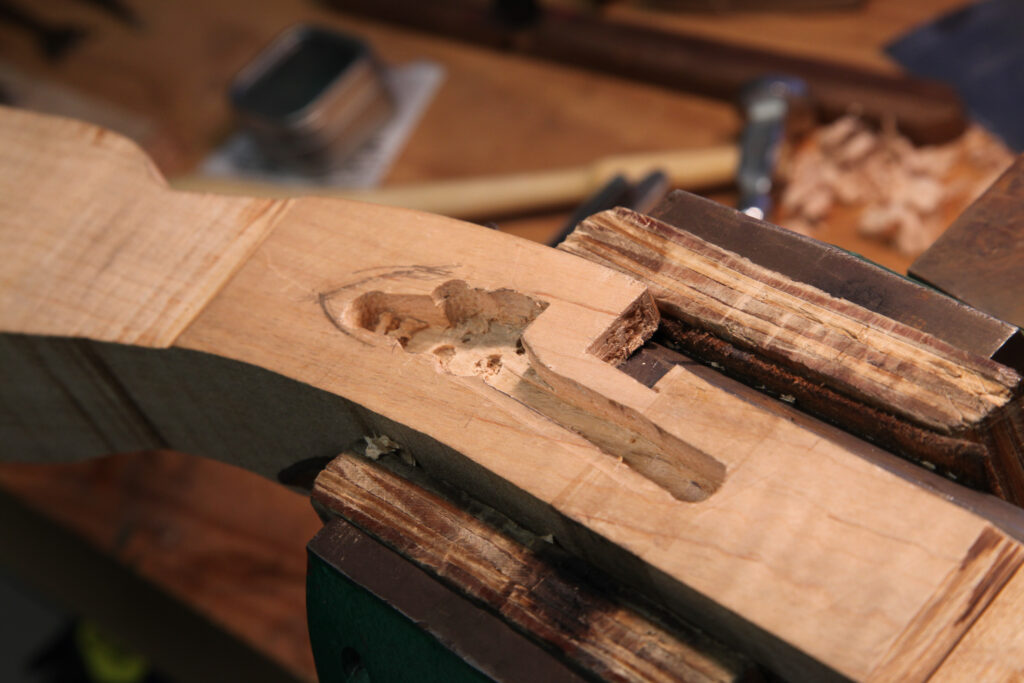
I also changed the butt piece heel extension and comb to three facets based on the work of John Davidson’s unidentified master. I also decided to use the touch plate release I used on #11. However, after problems with the touch plate release due to wood movement from changes in humidity, I decided to change the release mechanism and toe plate to a small push button release for better reliability.
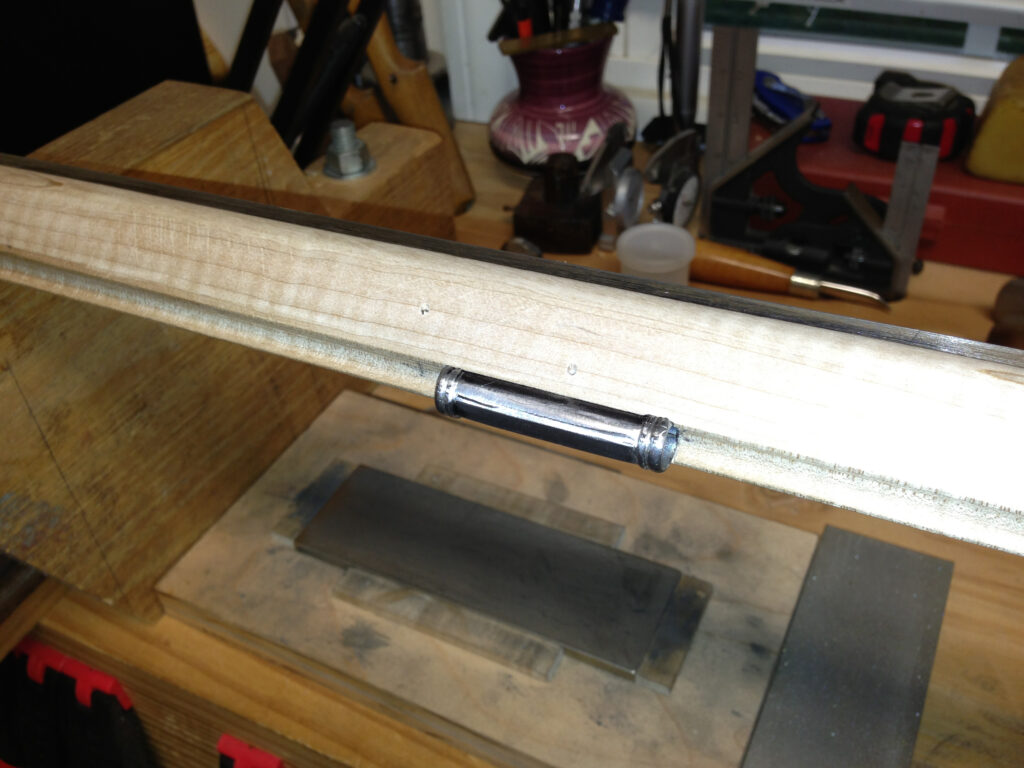
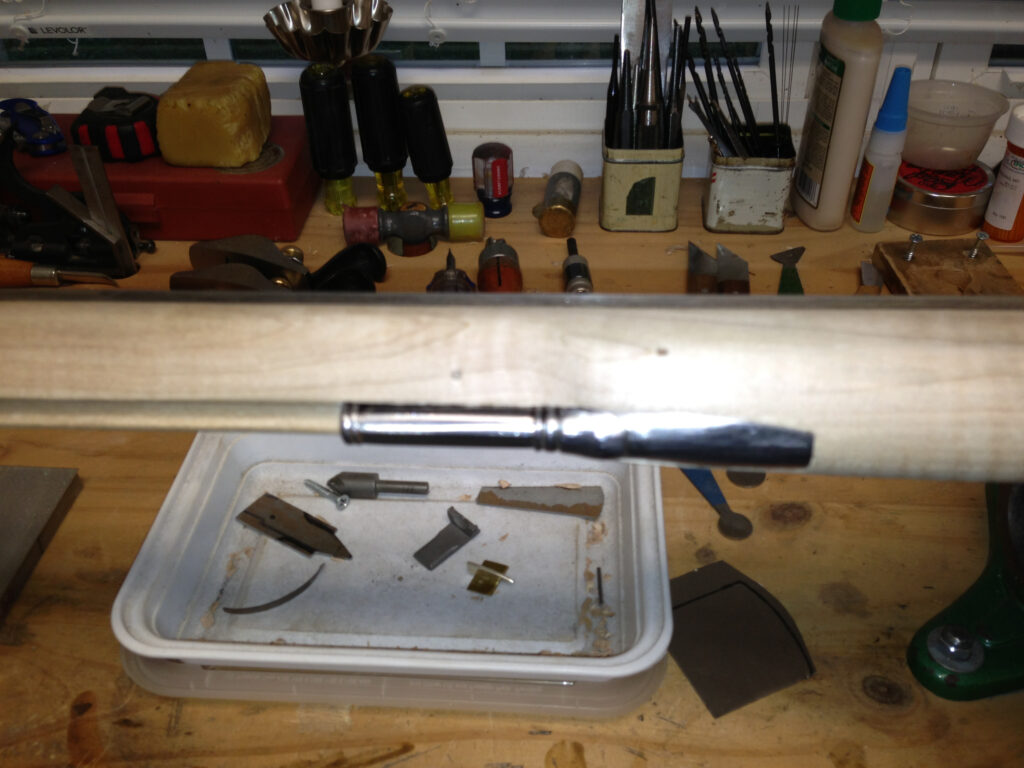
The ramrod is made of hickory as are all my ramrods and scrapped to a taper with a forge welded sheet steel ferrule on the small end. The ferrule is threaded for a 10-32 screw. I can provide a hardened and tempered handmade wiper for the rifle for an extra $79.
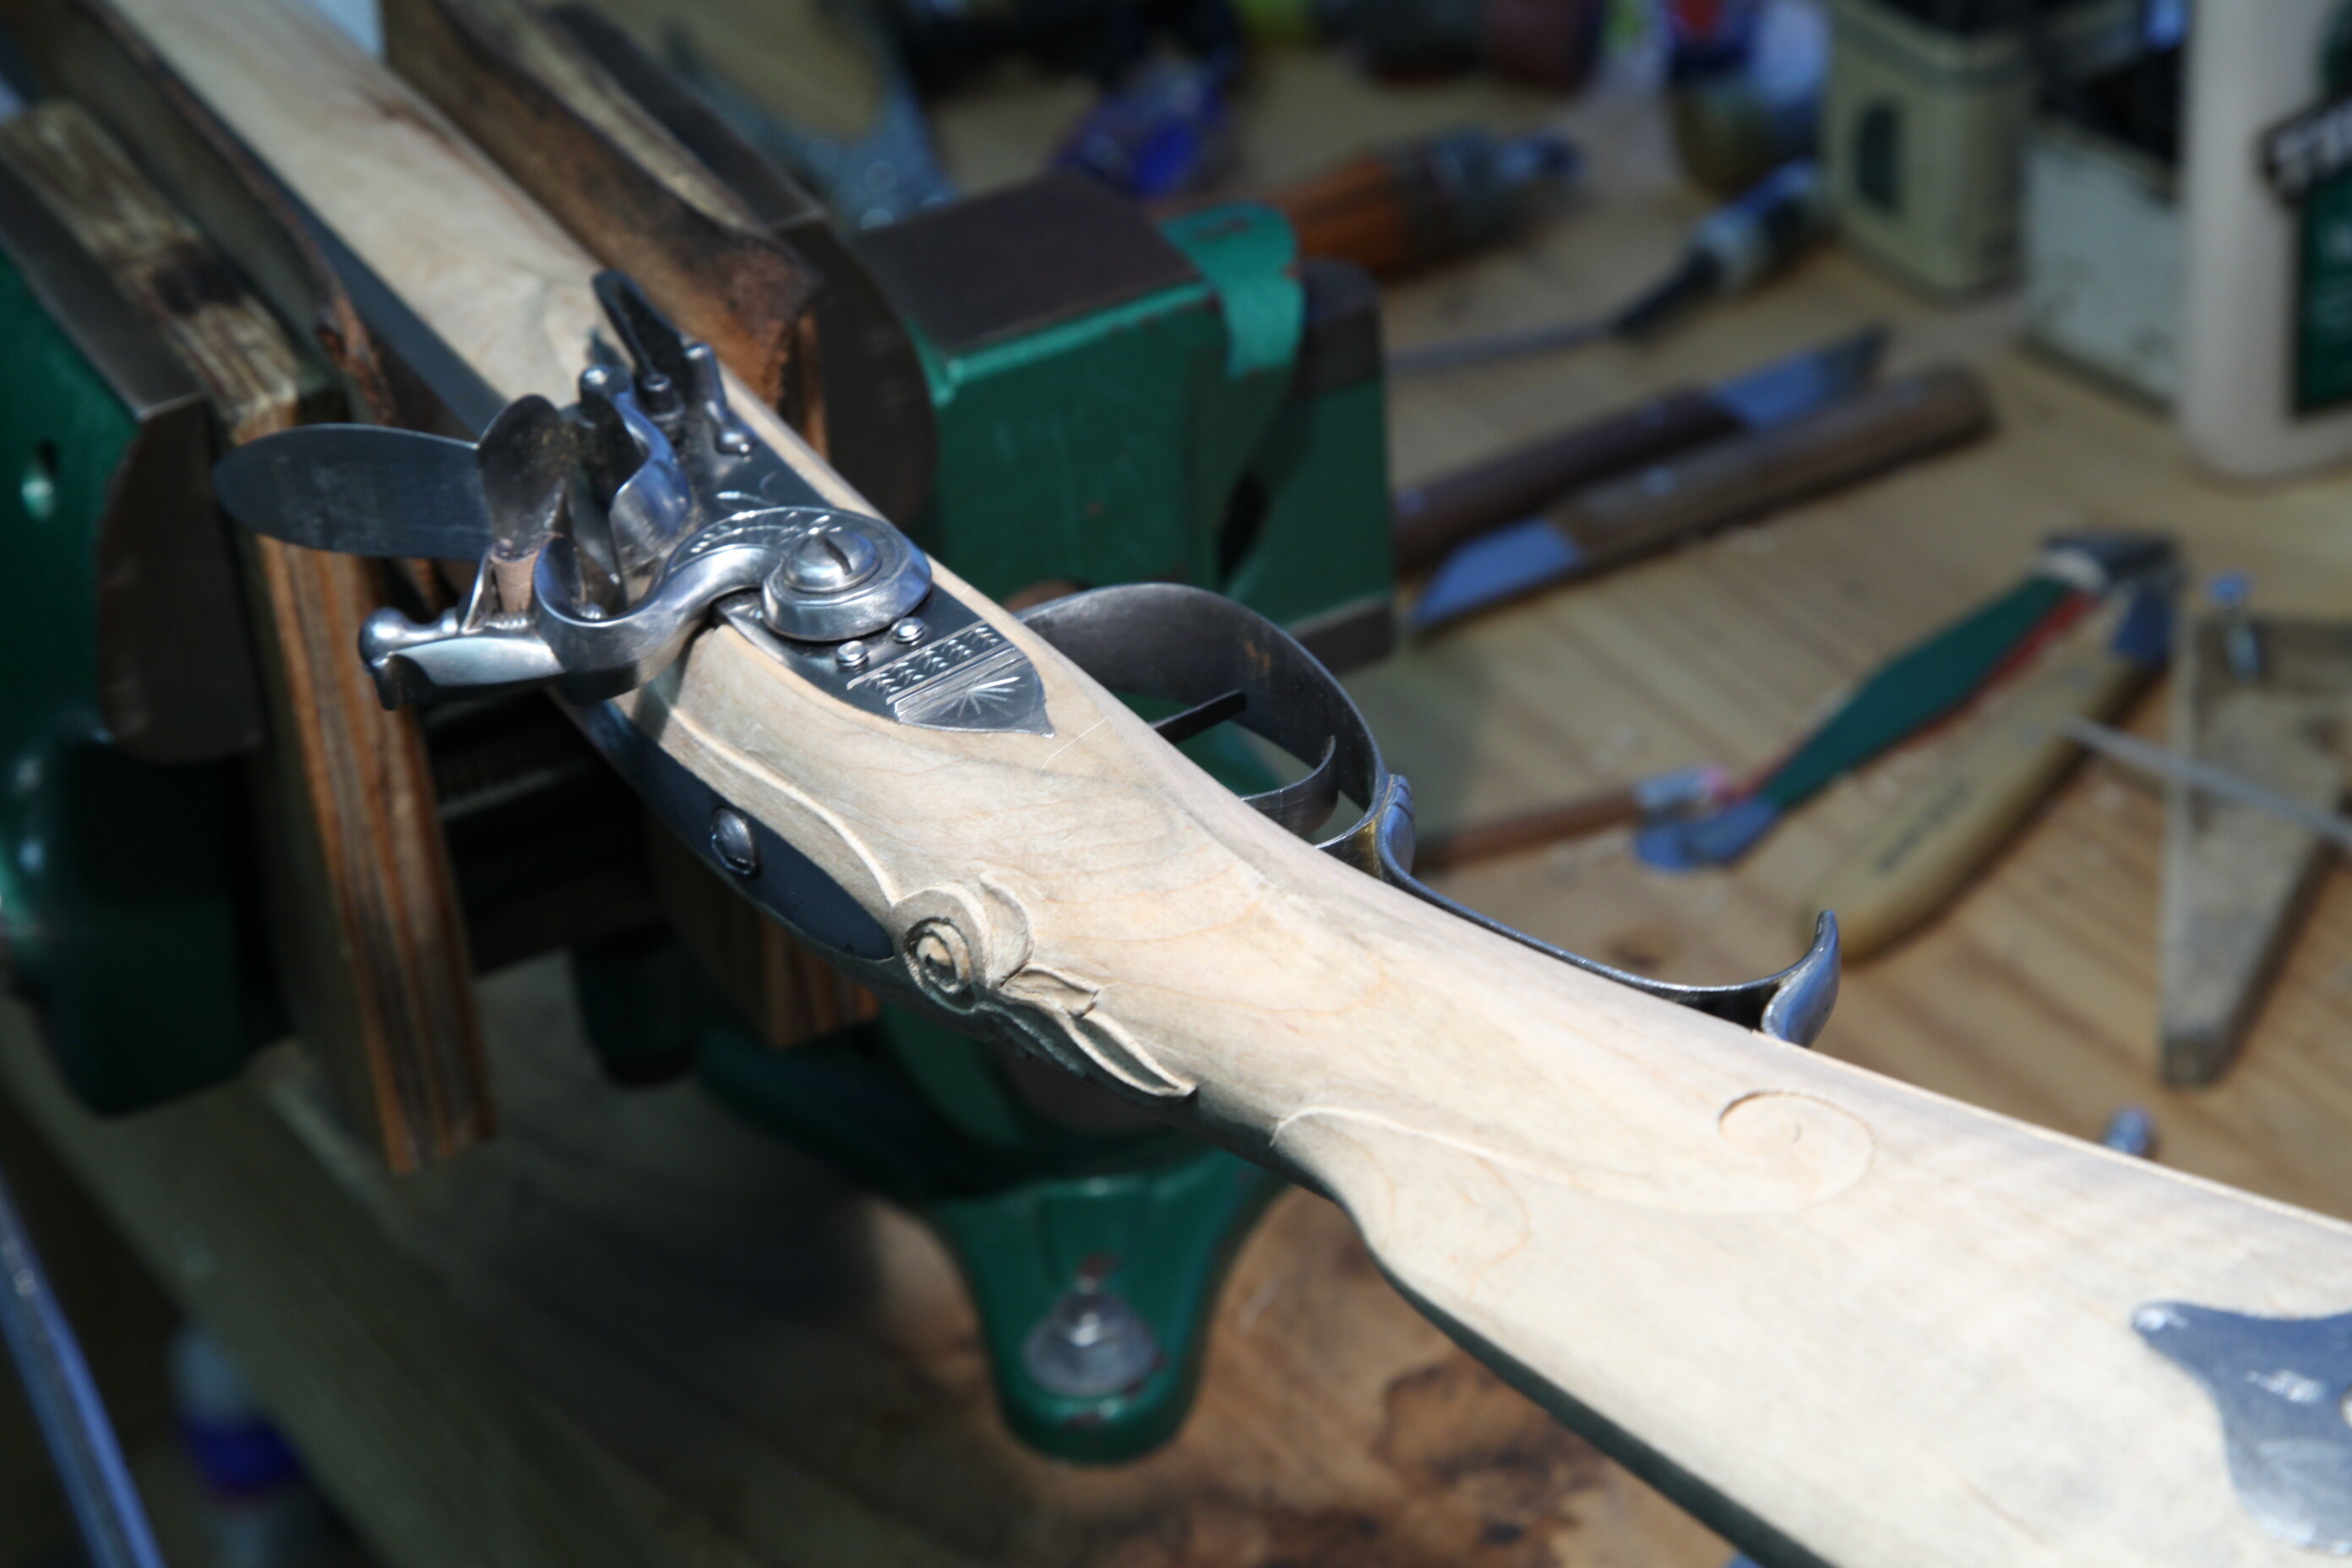
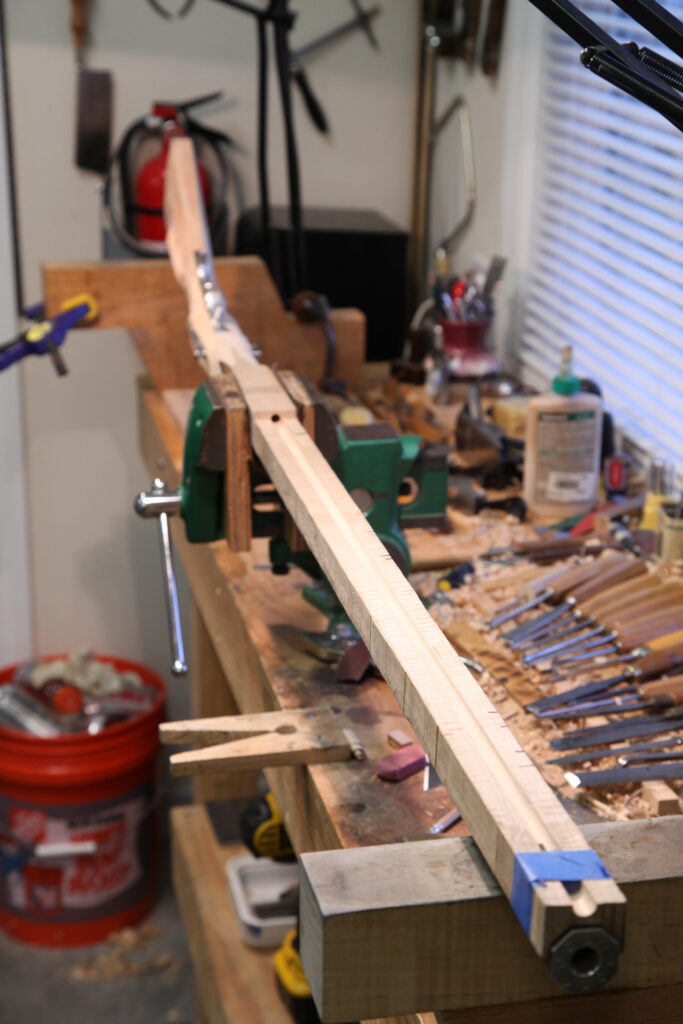
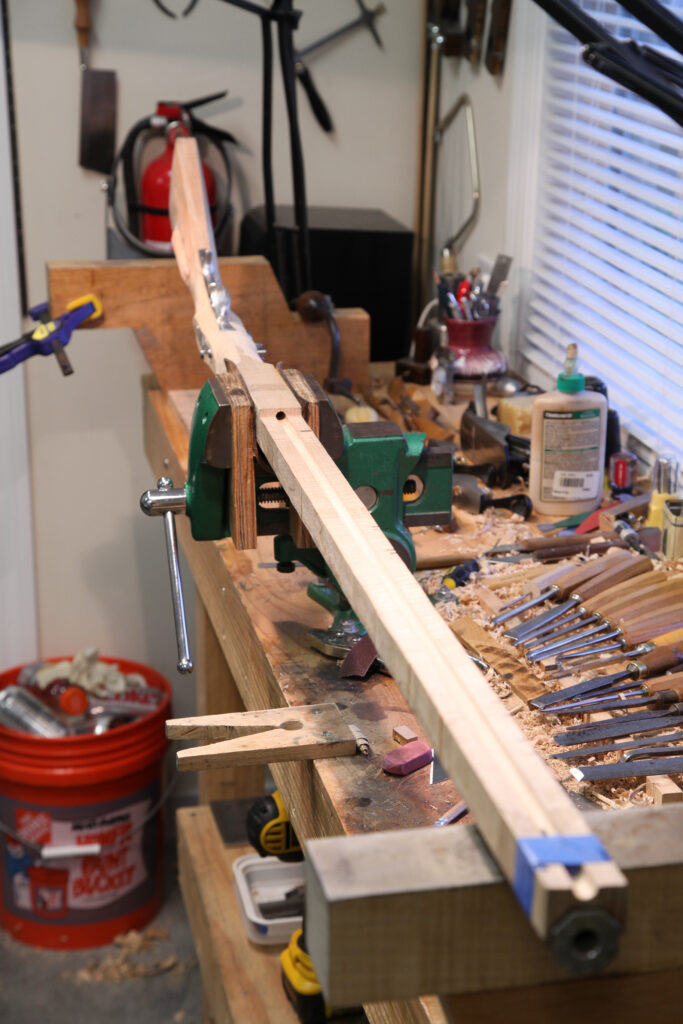
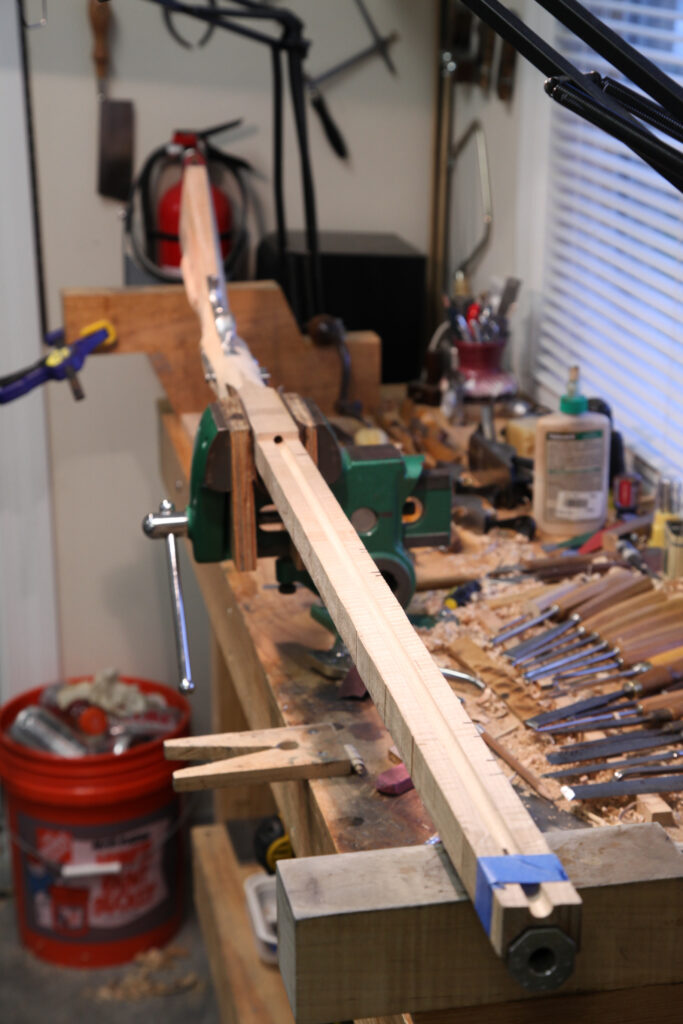
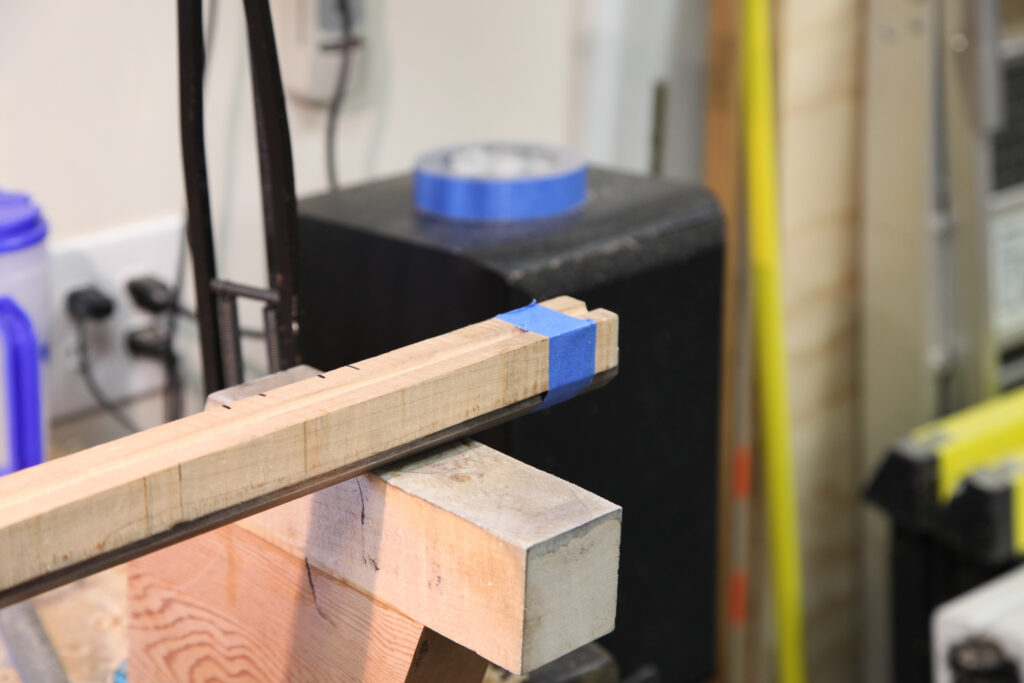
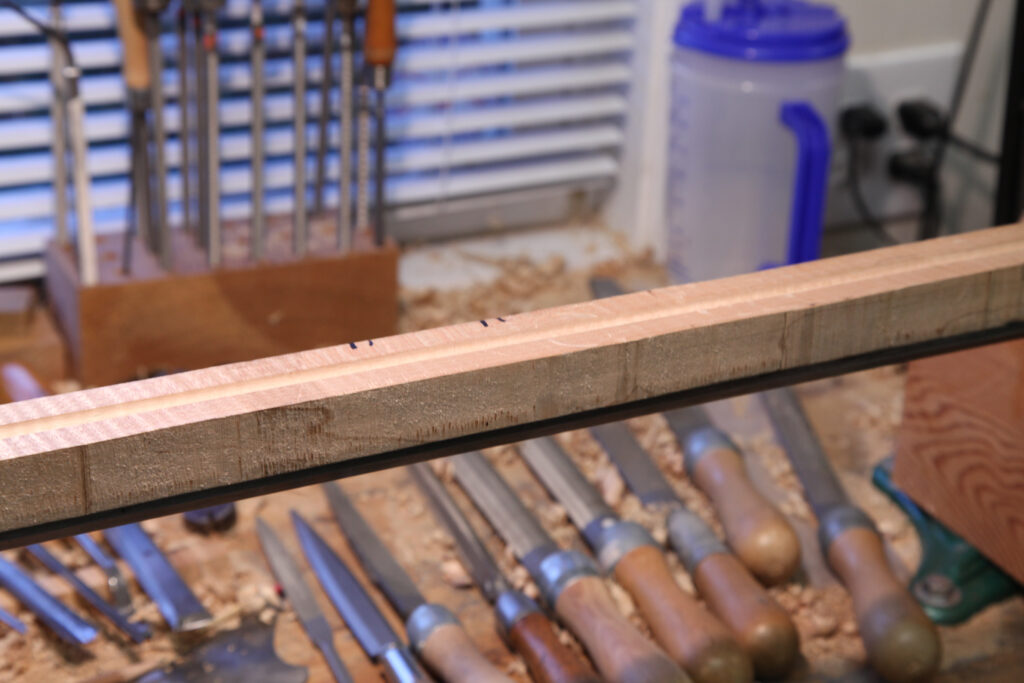
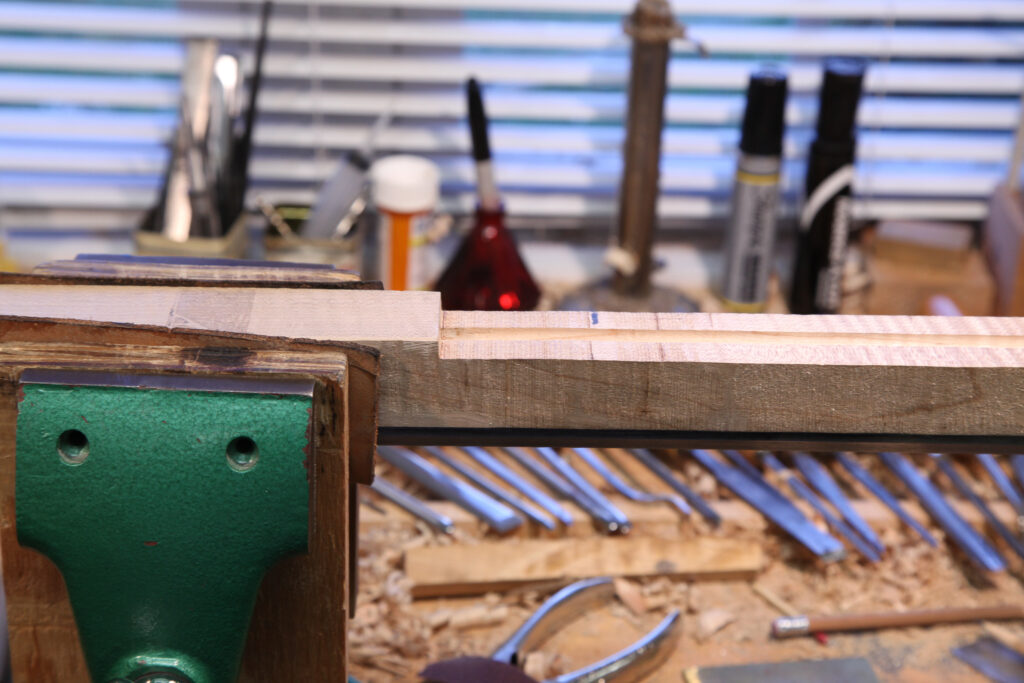
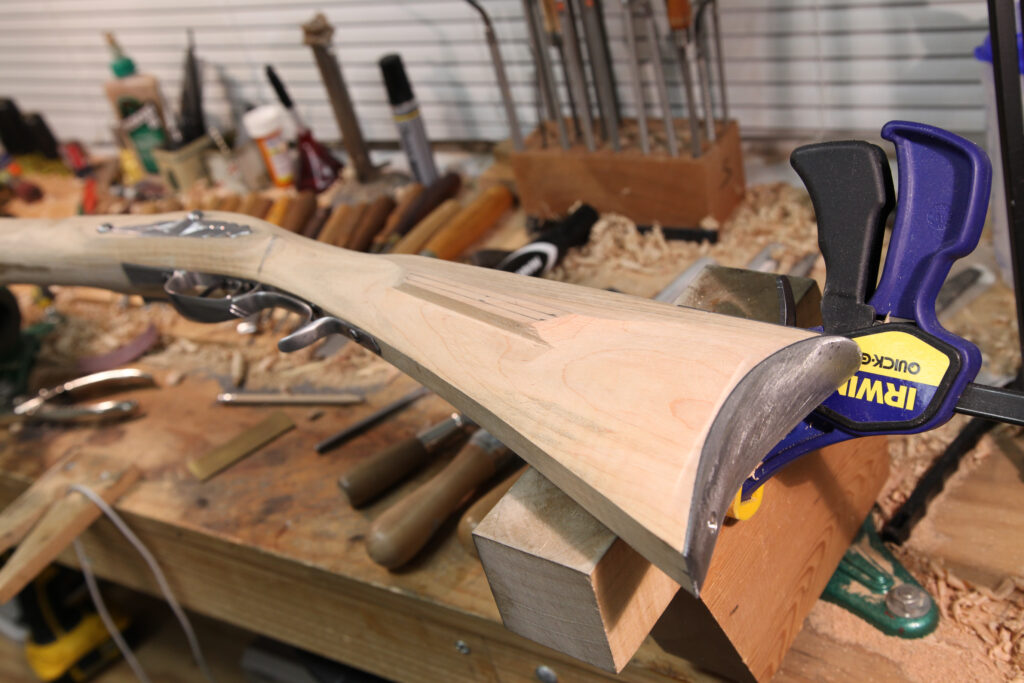
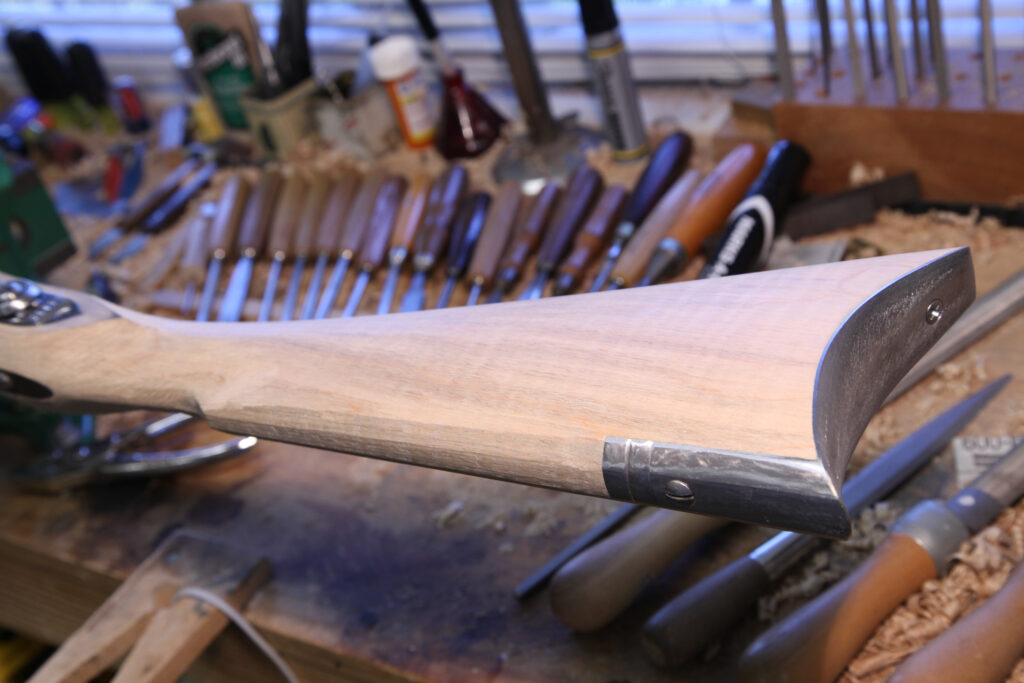
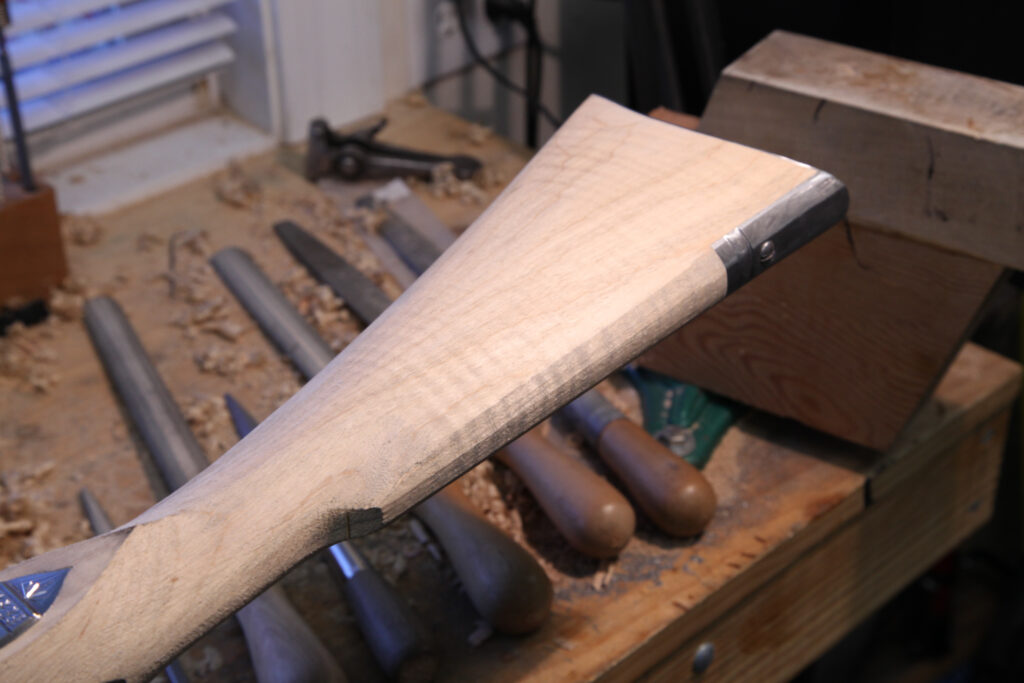
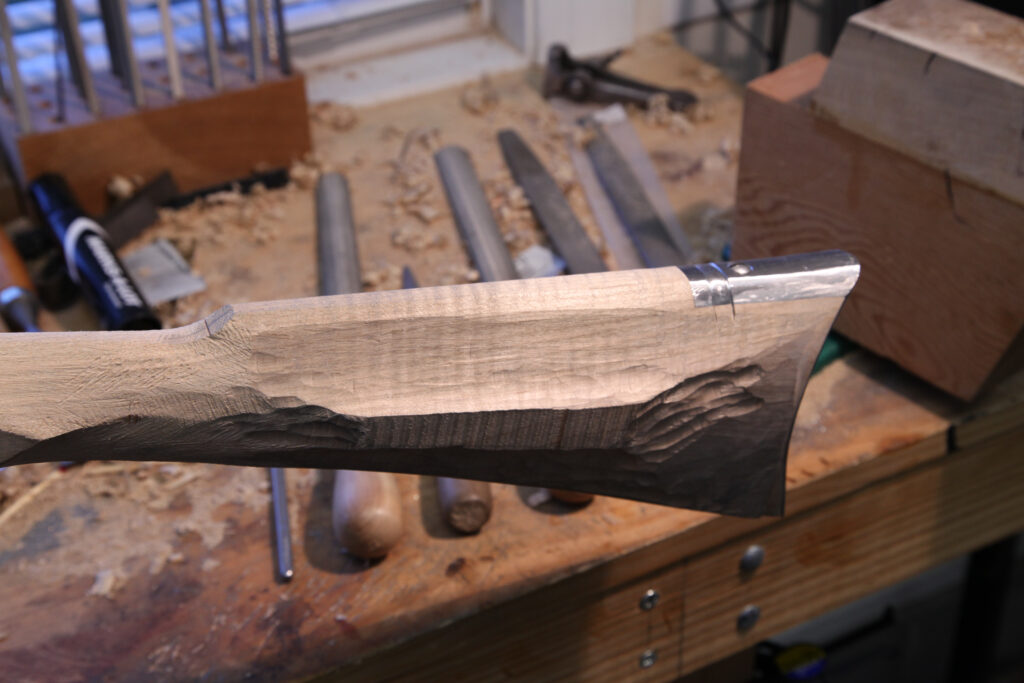
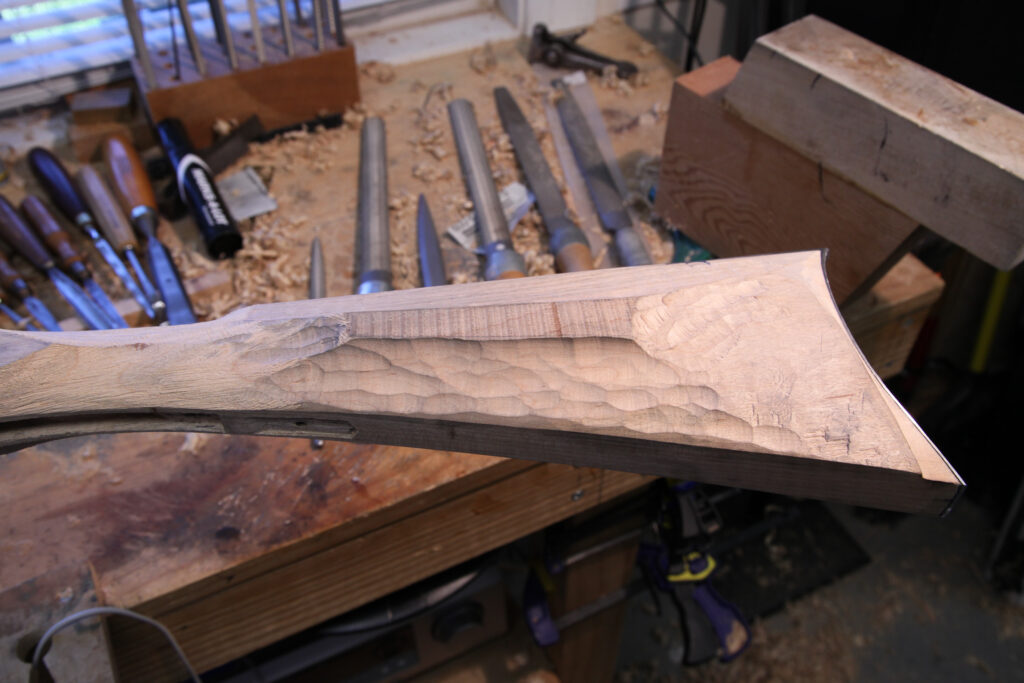
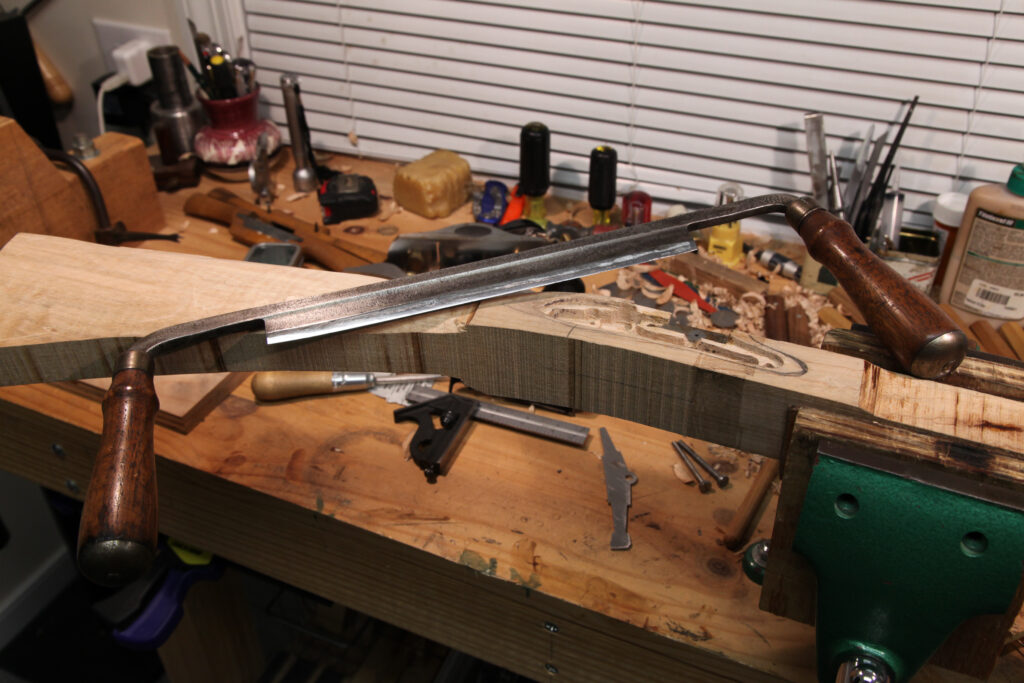
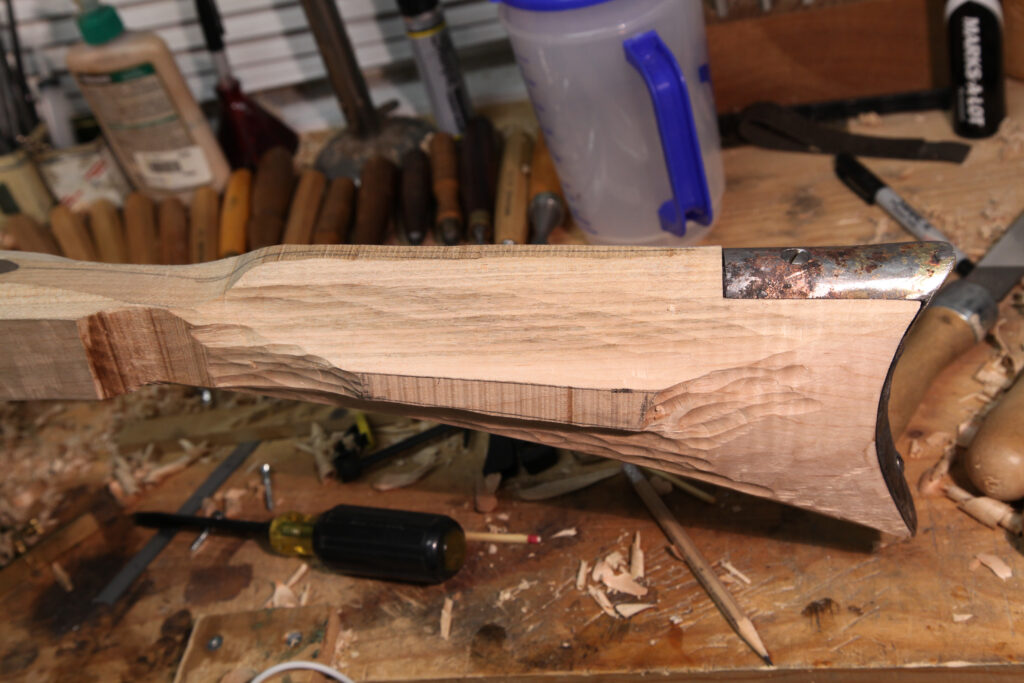
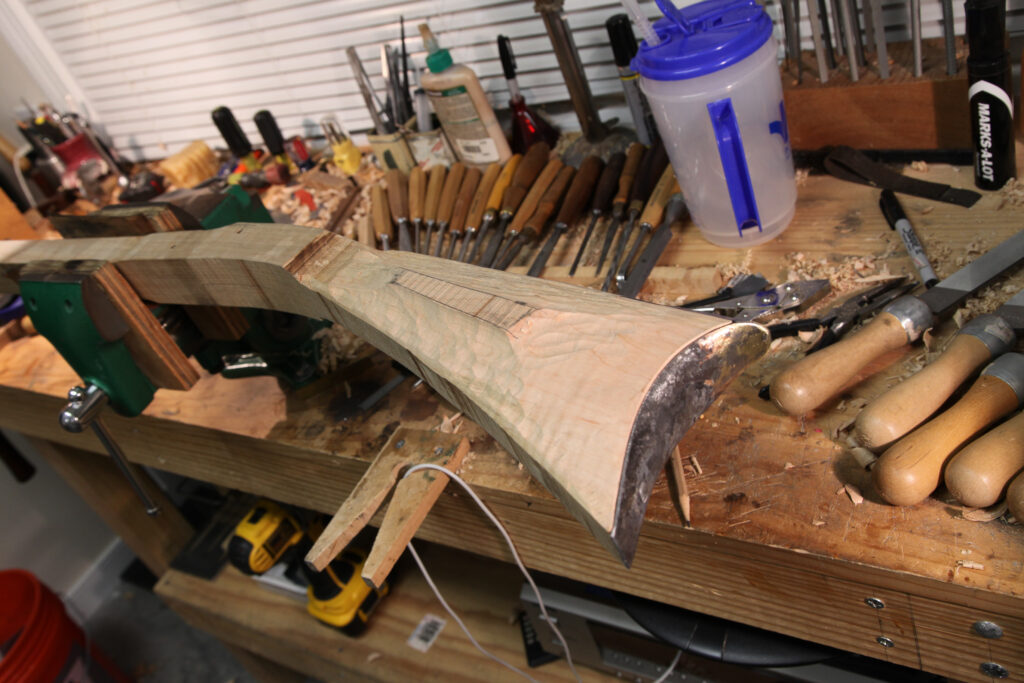
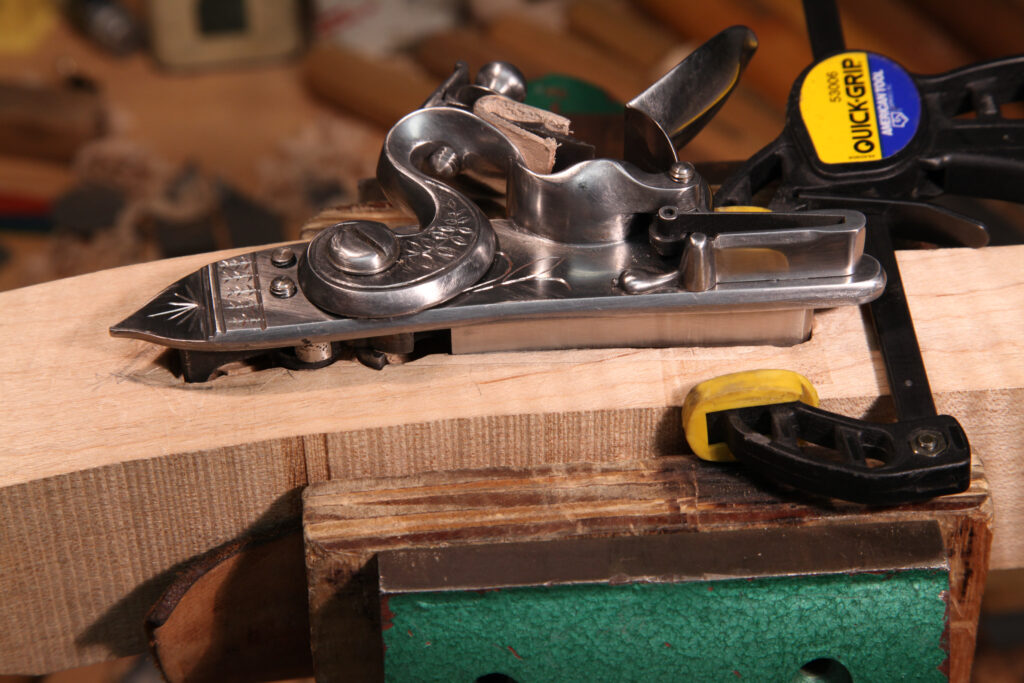
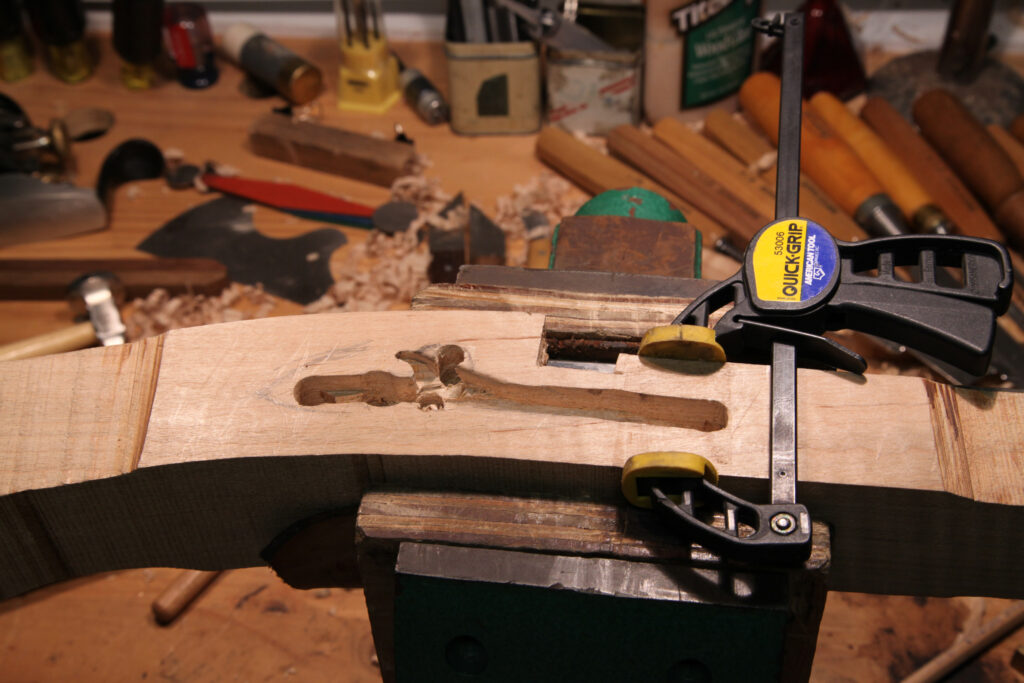
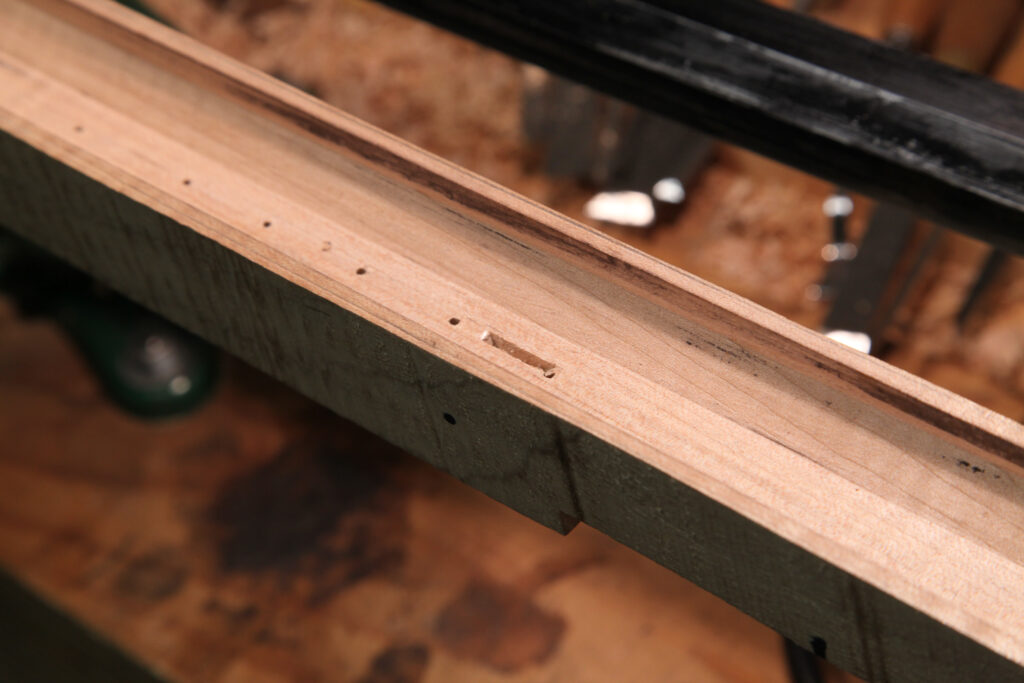
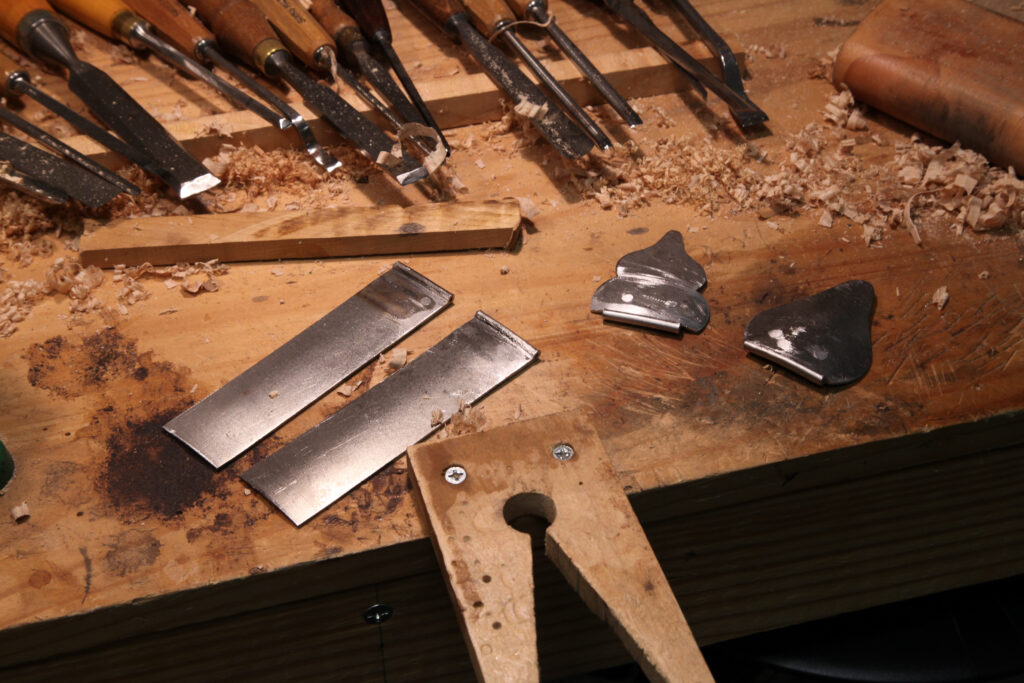
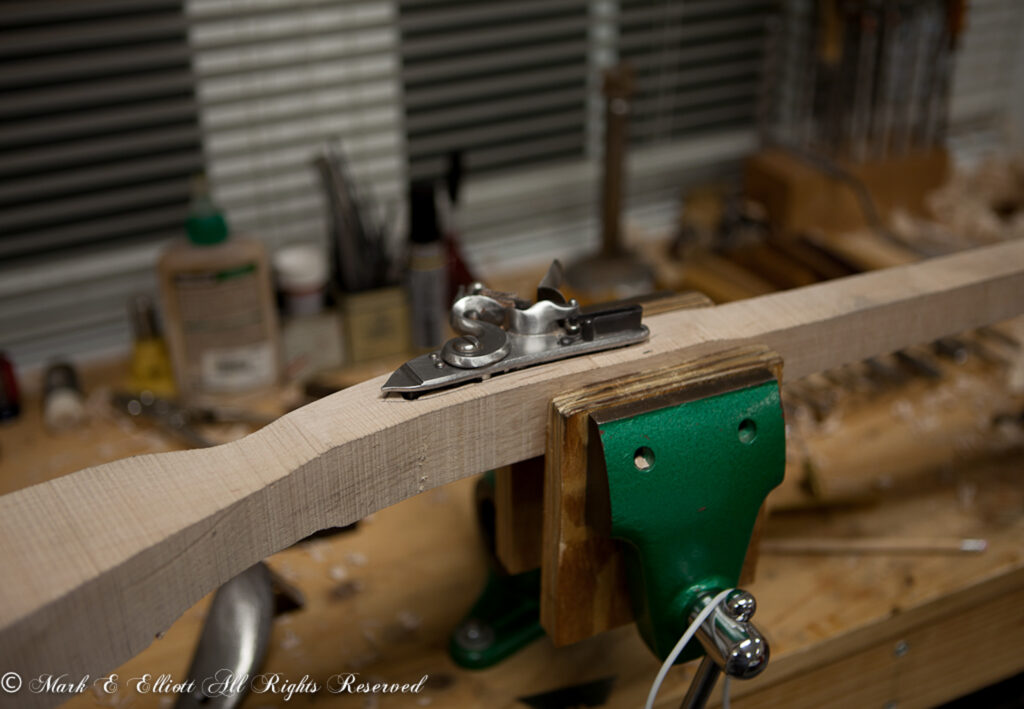
As with all my guns, this rifle was stocked from a blank that I cut out on a bandsaw. After that, the only power tools I used on it were a hand drill and a drill press, mainly to drill screw, rivet, and pin holes. I used an 18th century brace and bits to help with the inletting of the lock and patchbox. All the other work was done with 18th and 19th century tools and techniques. Most of the work on the gun was done with planes, chisels, files, and scrapers. This included many antique tools and specialty tools made by me. The stock was final shaped and finished with scrapers. No sandpaper touched the wood. You can still see scraper and file marks in the finished product and there are the tell tale ripples in the stock indicative of being scraped. A more highly figured piece of wood would have had even more ripples.
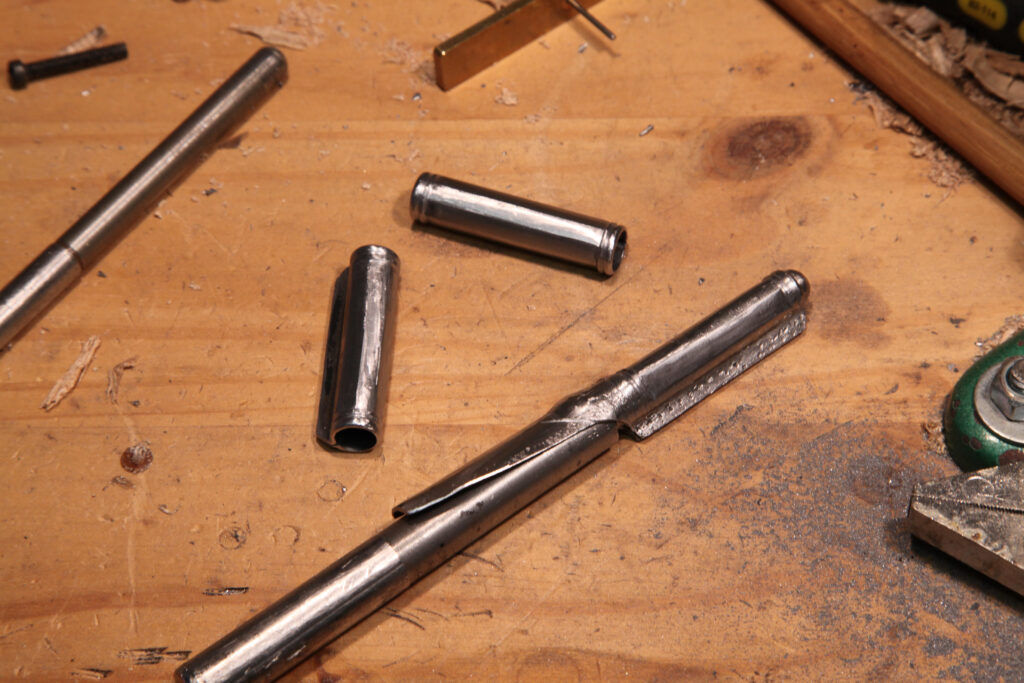
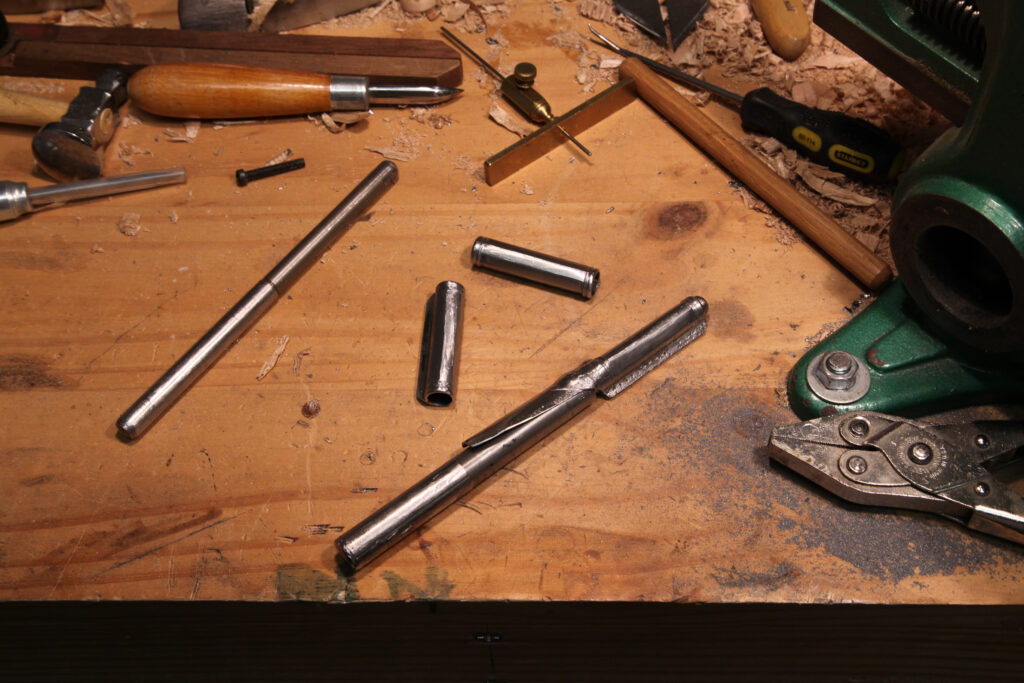
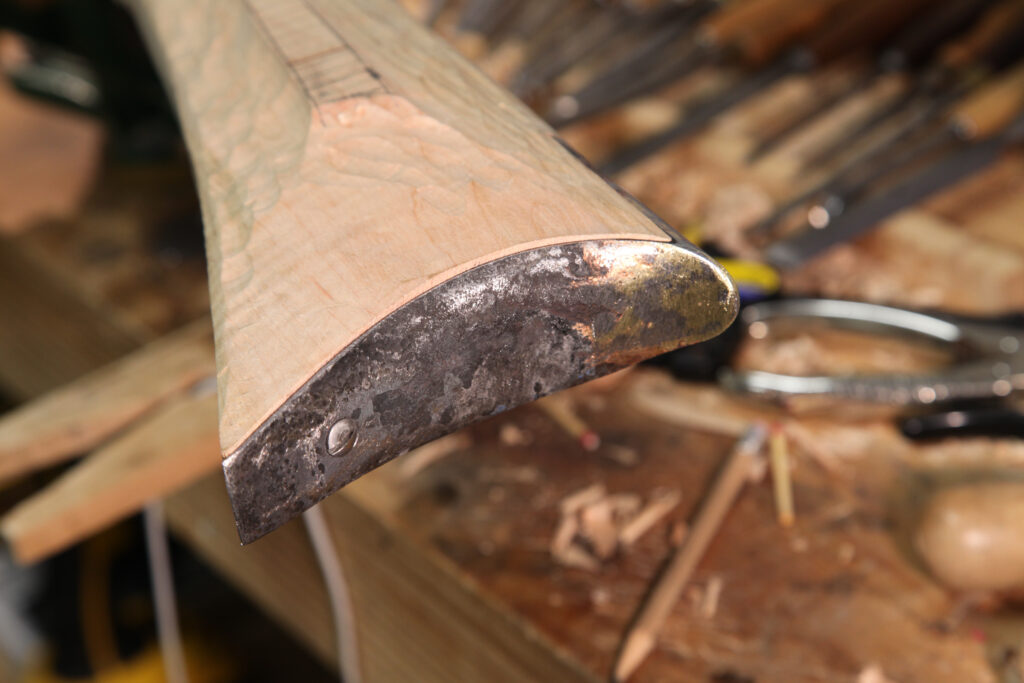
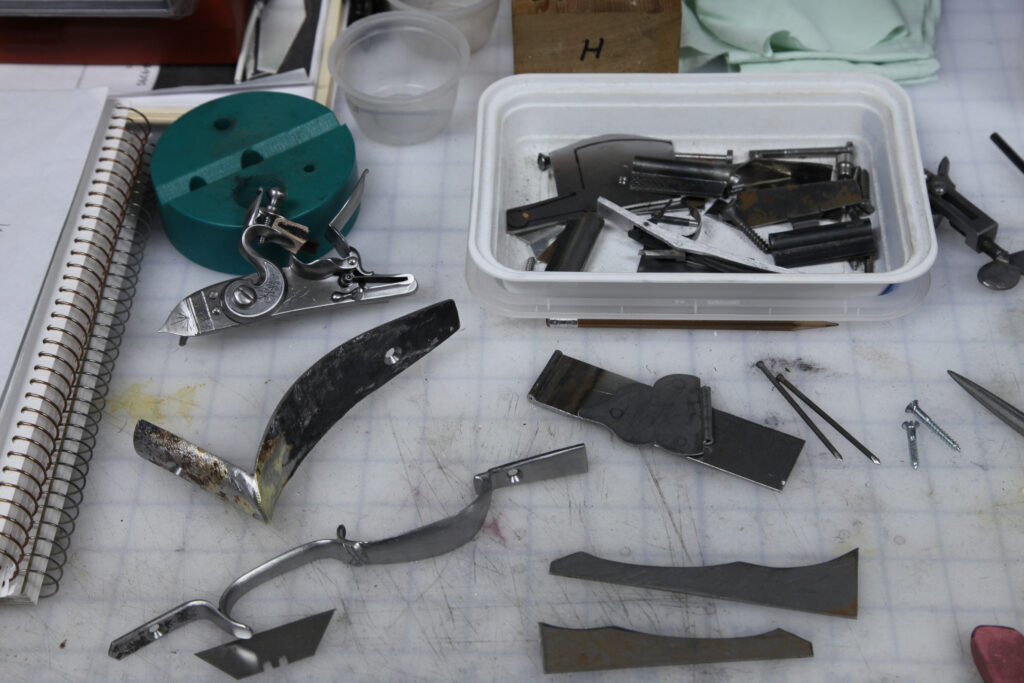
I hand inlet the barrel and ramrod groove using chisels and planes, and hand drilled the ramrod hole. The trigger guard and butt piece were hand forged and assembled using rivets and forge brazing. The heel of the butt piece was filled with brass to make the joint as solid as possible. Then many hours of hand filing and polishing went in to getting these mounts to their final form. All the other mounts were hand cut from sheet and hand formed around mandrels I made expressly for the purpose. I made all the parts for the patchbox release mechanism and modified the Davis triggers to suit my taste and ensure perfect operation with the lock. As with all my locks, I hand filed and polished the lock plate, cock, and frizzen so that the lock would look as if it were a product of the 18th or 19th century. All the lock internals were polished on their wear surfaces and the sear and full cock notch were stoned for perfect operation with the set triggers. This particular lock also needed some modification of the sear and sear spring. Several days of work went into just finishing and tuning the lock.
My guns are more expensive than many other gunmakers because of all the hand work I put into them and the effort that I take to make sure everything works smoothly. I spent many days on this rifle just making sure that the lock, triggers, and patchbox release worked as well as they reasonably could. I also spend a lot of time with a scraper to make sure my lines and planes are straight and sharp and my curves smooth. I use traditional ferric nitrate (aqua fortis) stain which requires much, much more preparation than if you were using a modern non grain raising stain. I then apply many coats of my own oil based gunstock finish. I don’t use polyurethane or other synthetic finishes. Because of that, and the porosity of oil finishes, the last step in every gun is a good coat of Renaissance Wax on all surfaces. The only maintenance other than cleaning after shooting is to apply a coat of paste wax a couple times a year. The wax will effectively seal the stock against the weather.
Once I have finished all my scraping, polishing and finishing, then I go about destroying the work I have done in order to age the piece. I rust all the iron parts, sometimes several times. Apply a patina to the brass and silver and then paint the whole gun in a lamp black oil glaze to simulate a century or two of dirt and soot from the fireplace that I then scrub off judiciously to simulate many years of wear. A few dents, dings and some blood along the way doesn’t hurt the process.
I try to work in as workman like manner as I can, but I am picky about line and function. I will let some scraper marks and file marks and a few dents slide by as did the original gunmakers, but not functional or architectural problems. You do have to realize that anything done by hand is not going to be perfect. I try to get as close as I reasonably can, but you do have to let some things go as long as they are not going to affect function.
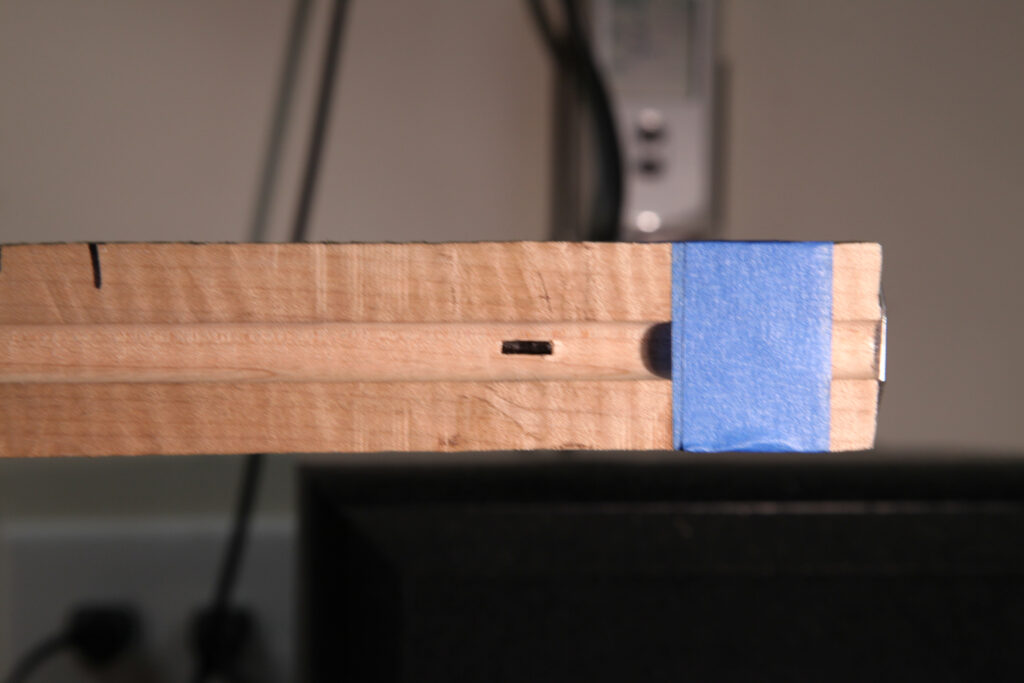
Speaking of function, all my barrel tenons are slotted to allow at least 1/32″ of travel around the pin in each direction. This is to allow for the normal expansion and contraction of the stock without stressing the barrel so much that the aim is affected.
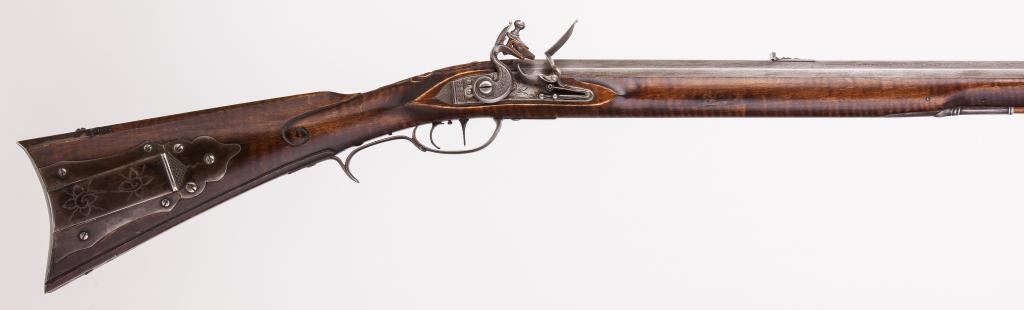
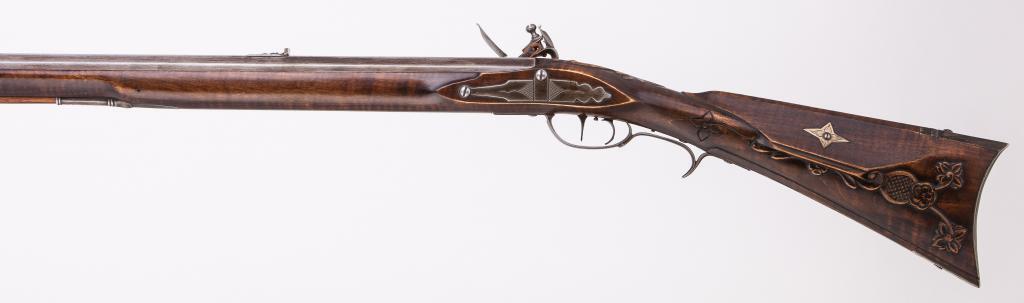
The Final Result
Click on image for larger view. Press Esc to return.


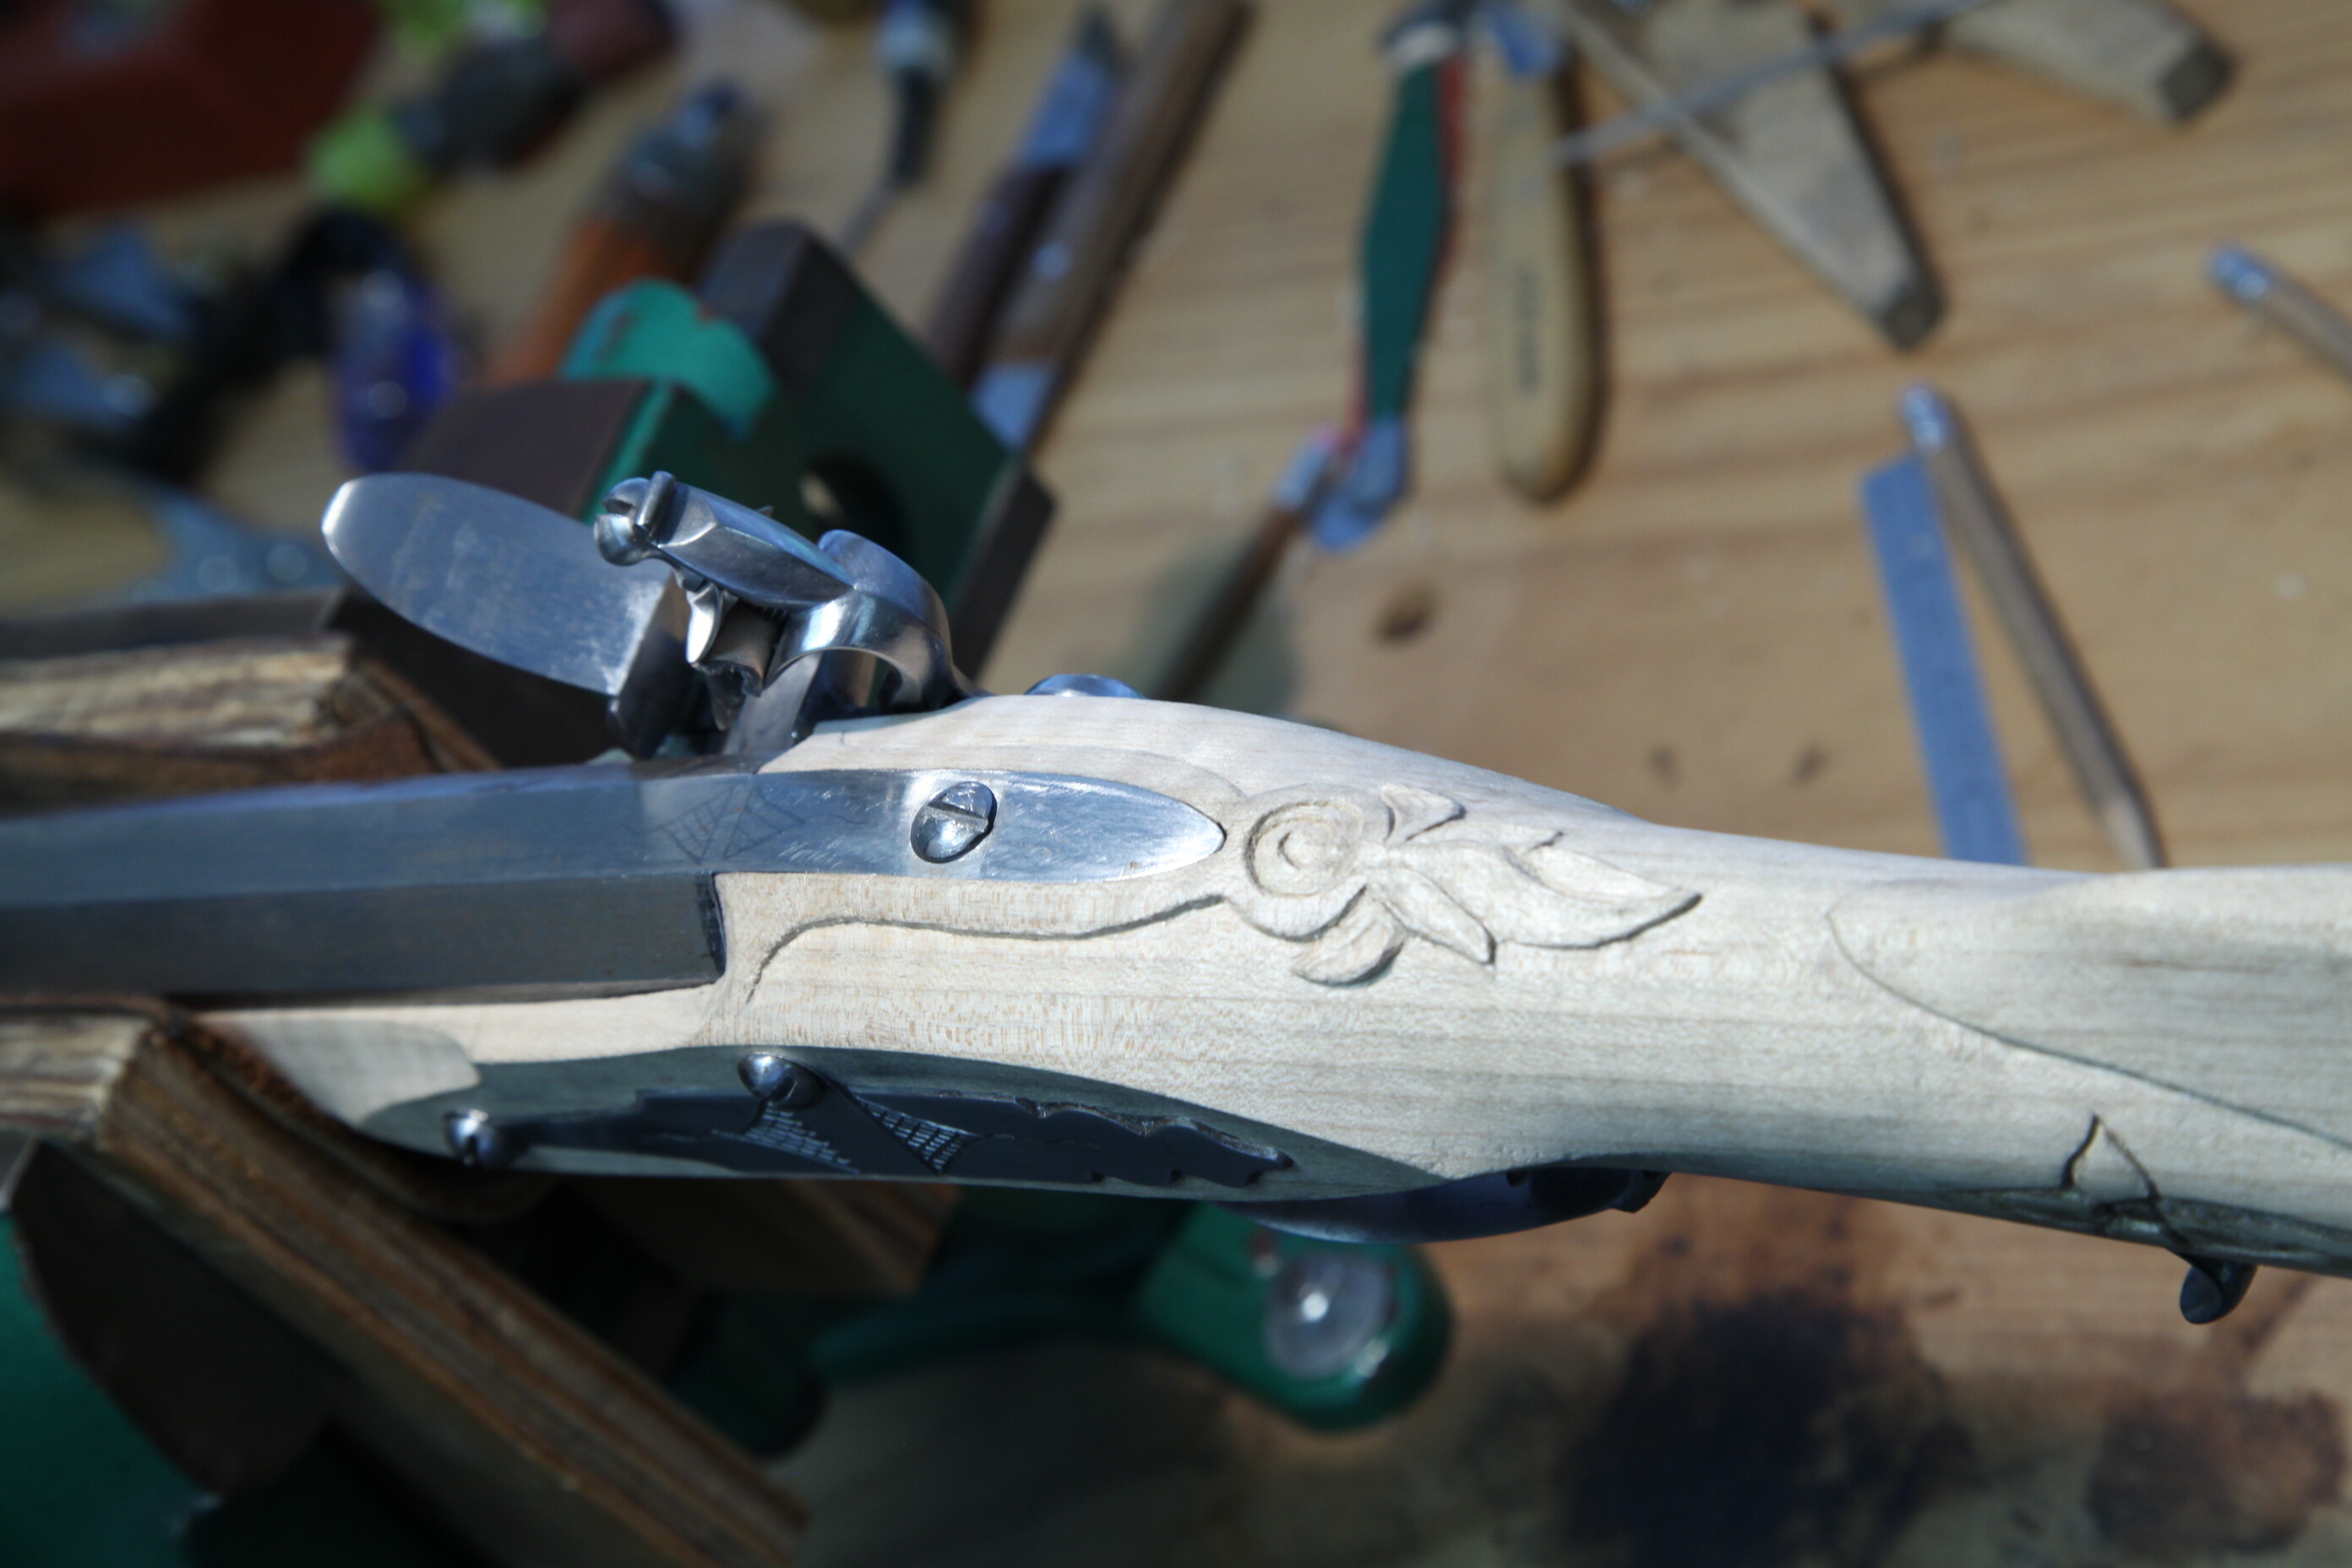
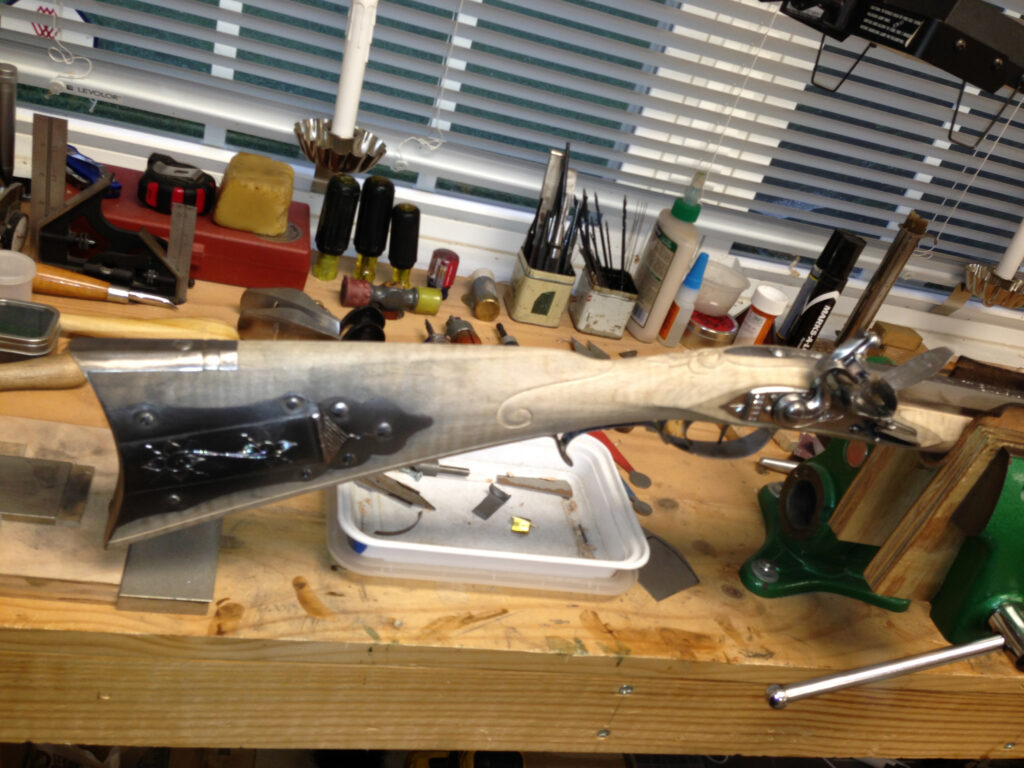
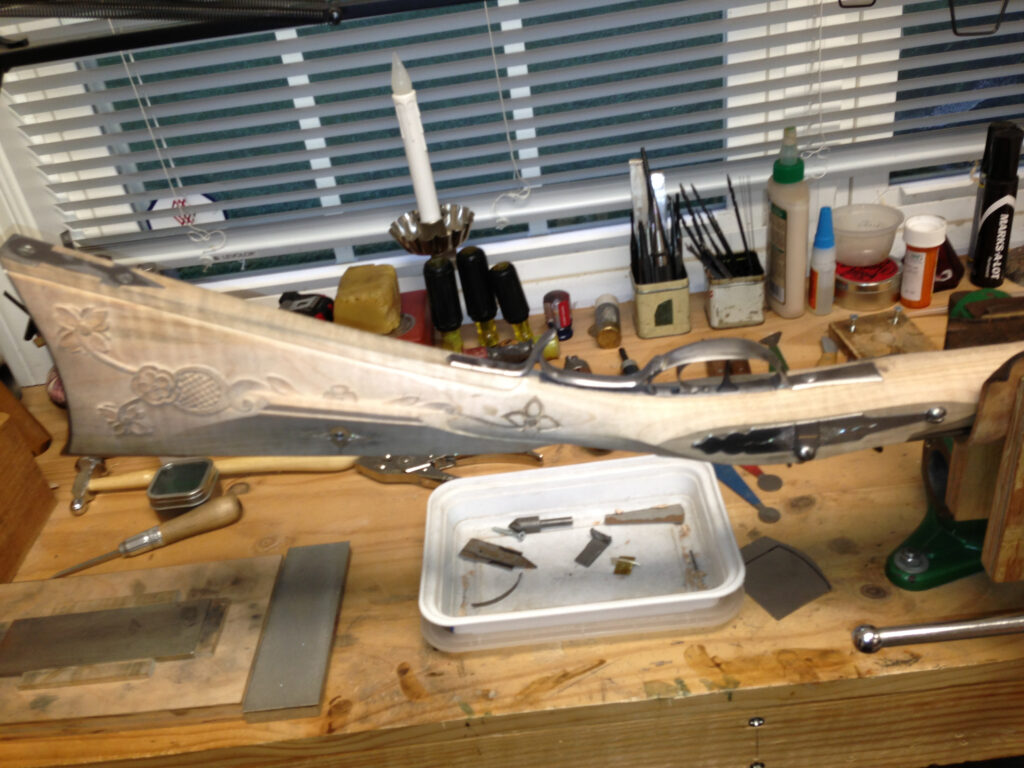
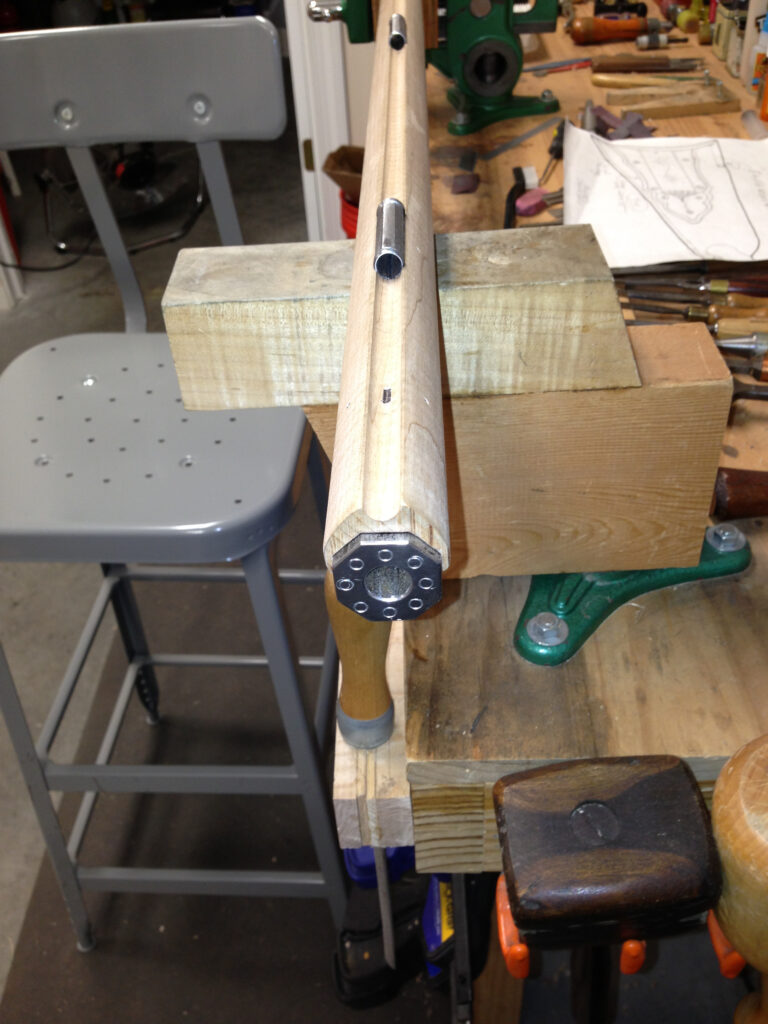
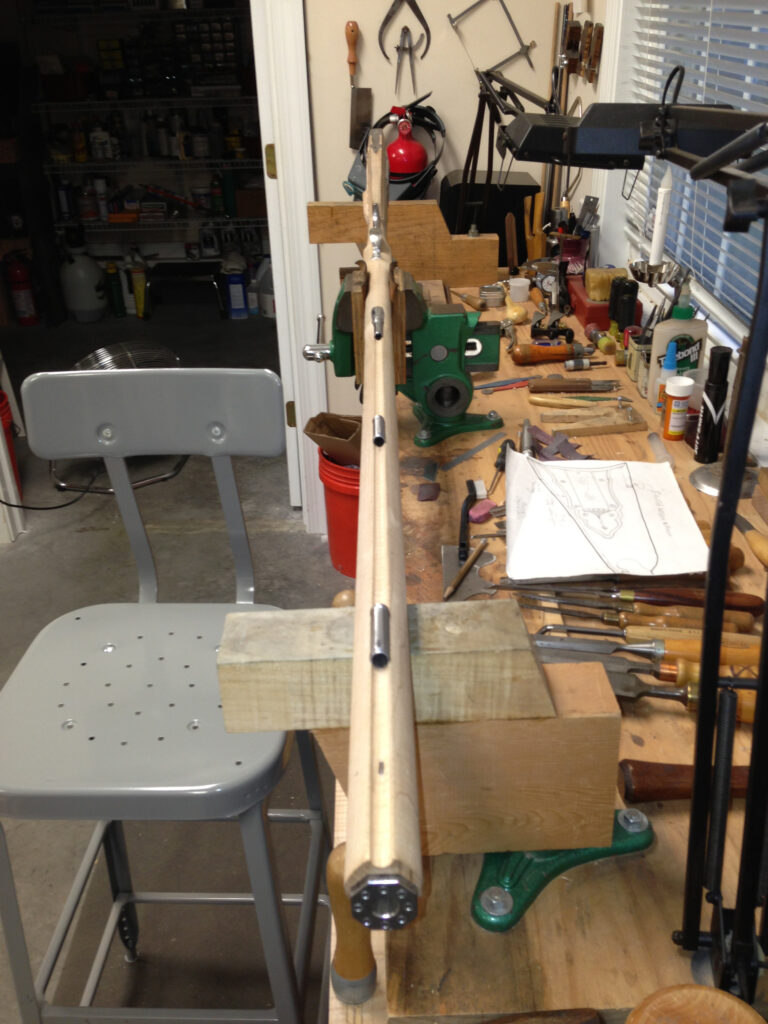
In Process Photos
Click on image for larger view. Press Esc to return.


Very nice rifle Mark. I am going to have to get the Muzzle Blast issue that Wallace had the article in. Do you know or remember the issue? I have several and will do some research. I love the Virginia (Southern) rifles that you do and wish Wallace would hurry up and get his book out that I have heard about for so long. Hang in there Nd love your comments and advice on ALR.
The Muzzle Blast issue with the primary rifle on which this one was based, is September 2004, pp 36-37.